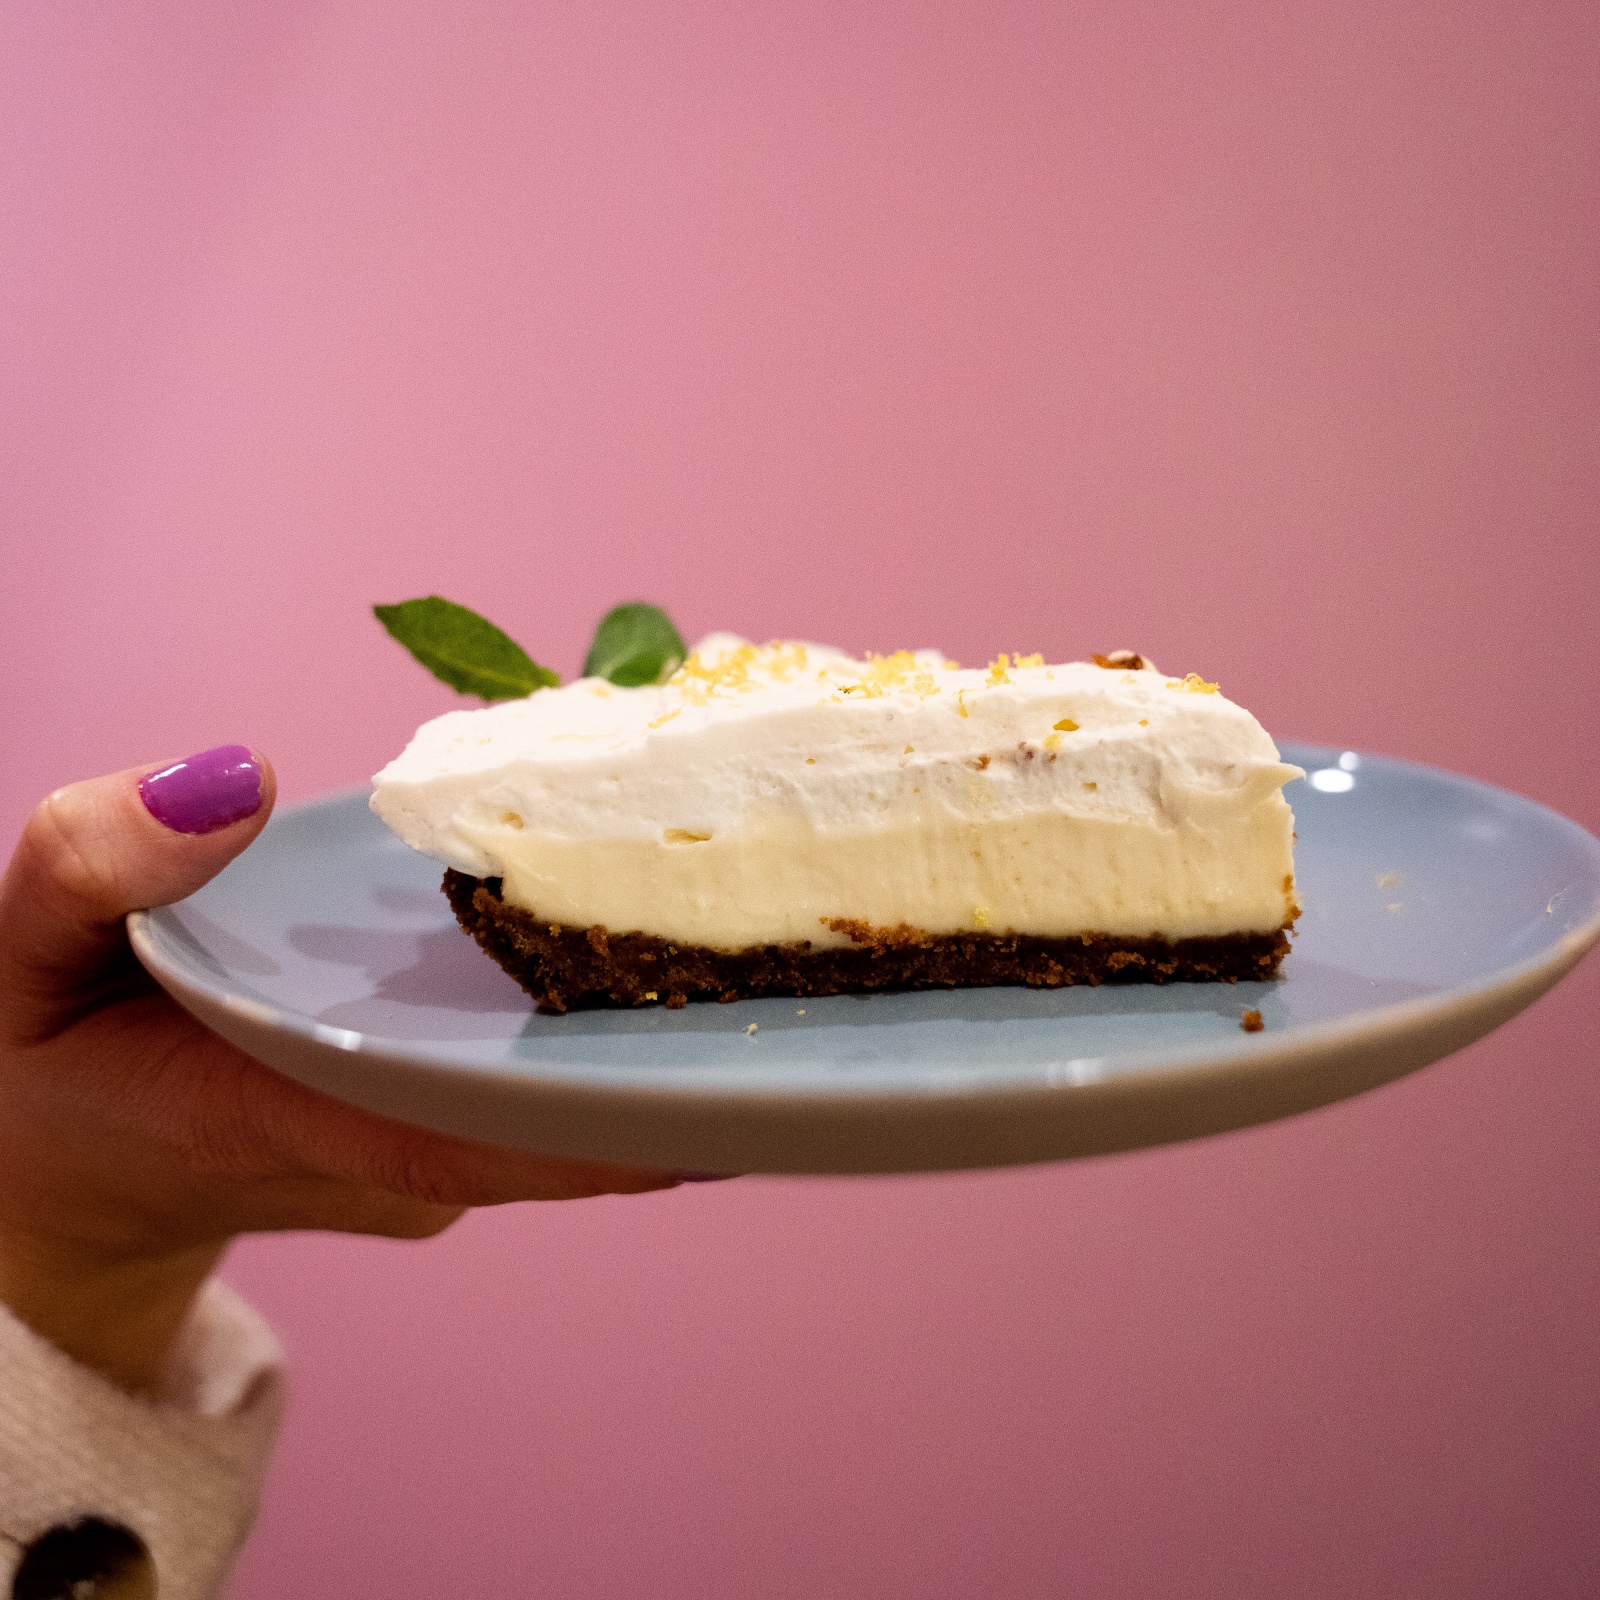
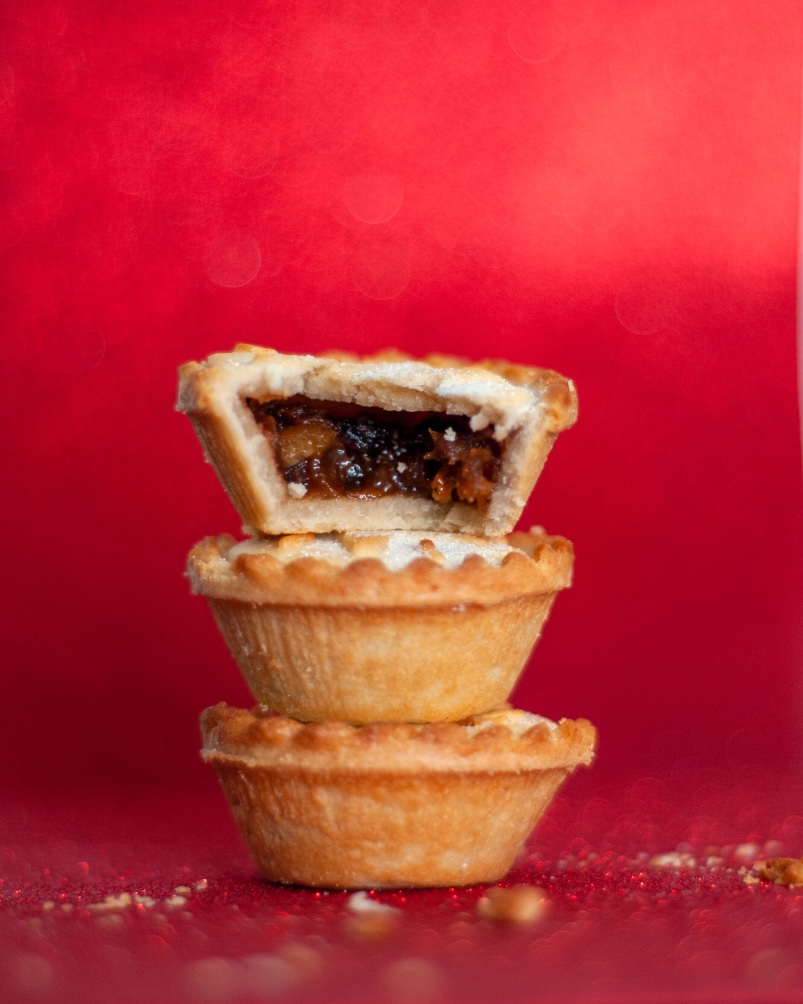
Natural Lighting
You want your Pie (food photography) to look the best it can, one way besides making it is to get good lighting. Natural lighting against a window or a diffusing light will allow the pie to get some awesome looks. This allows any hard lighting to be reduced onto the surface of the pie. Additionally you can put a cloth or a white piece of fabric to diffuse the light even more.
Consider going outside with your pie and shooting in a natural environment, – like grass, table tops, outdoor appliances. You will have the ability to take photos with both hard and soft light. You may also consider the different times of day to take photos during this as well if you are shooting outside.
Natural lighting outdoors can be great for a sunny day or a well-lit dim day. However you should avoid taking photos outside when it is dark or when there is bad weather. Lighting during this time will be suboptimal without external lighting– also the photos may not feel the same. Take this advice with a grain of salt (or sugar).
Indoor lighting can also do the trick if the weather isn’t right. The most abundant light available to you may be LED, Fluorescent and incandescent lights to take photos of your pie for national pie day.
LED and fluorescents will almost always make your image and your pie more blue and green in hue. These may be more common in commercial kitchens, bright and well lit kitchens and the like.
Often this is the opposite of what you want to accomplish if you are considering something warm and homey. For a warm and homey feel consider incandescent lights or yellow/orange hued lights.
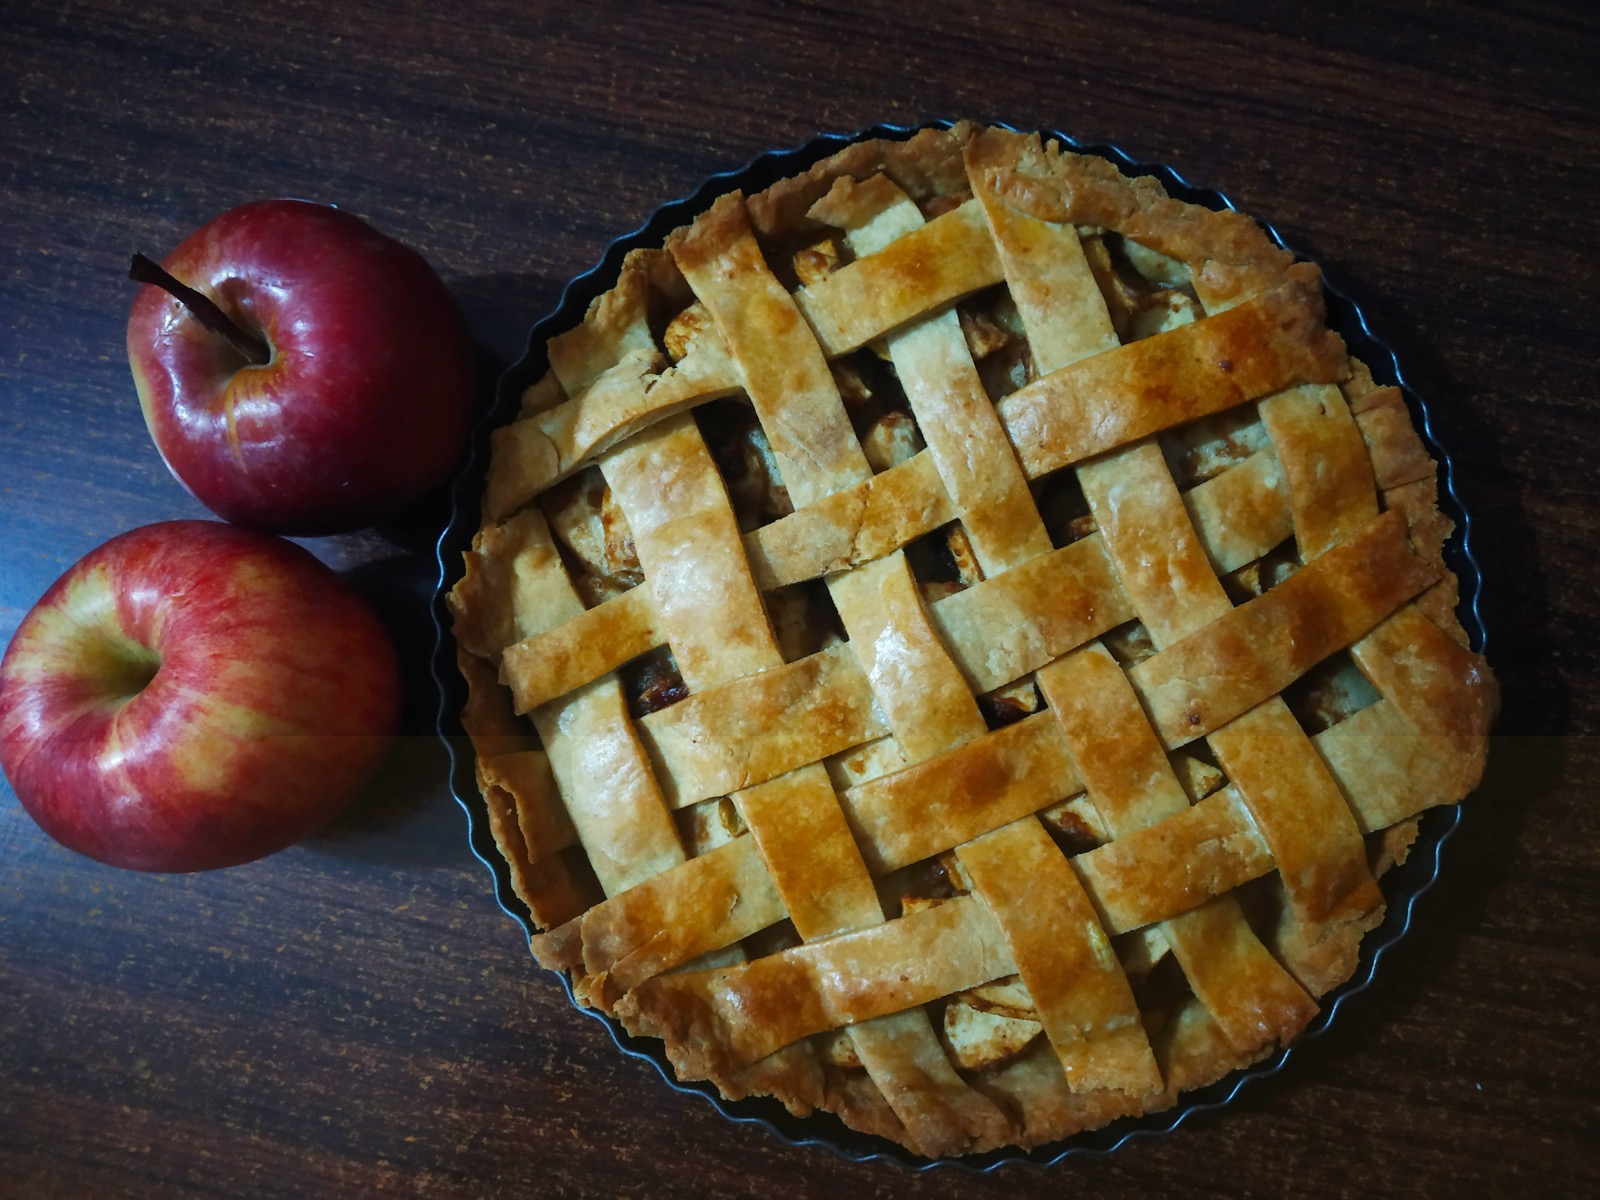
Lastly external lighting can be used to light your Pie’s. These may be in the use of external flashes, secondary lighting setups and the light. Flashes may include built-in flashes, external flashes, speedlight. The best light in a situation like this would be built-in flashes, speedlights , continuous lighting and studio strobes. Built-in Flashes will be the most common. This will be great front facing lighting for your pie. It is important to have ANOTHER light source for these if the images are not turning out how you like. The flash may not be able to cover both the subject [pies] and the background.
External flashes can work with other lighting. You can place them around the pies to create definition or to emphasize something. Think of Silhouette Pies.
Continuous lighting and studio strobes may also be used for commercial photos if needed. You can set your lights up so that the subject, background and anything else can be lit in a well balanced way.
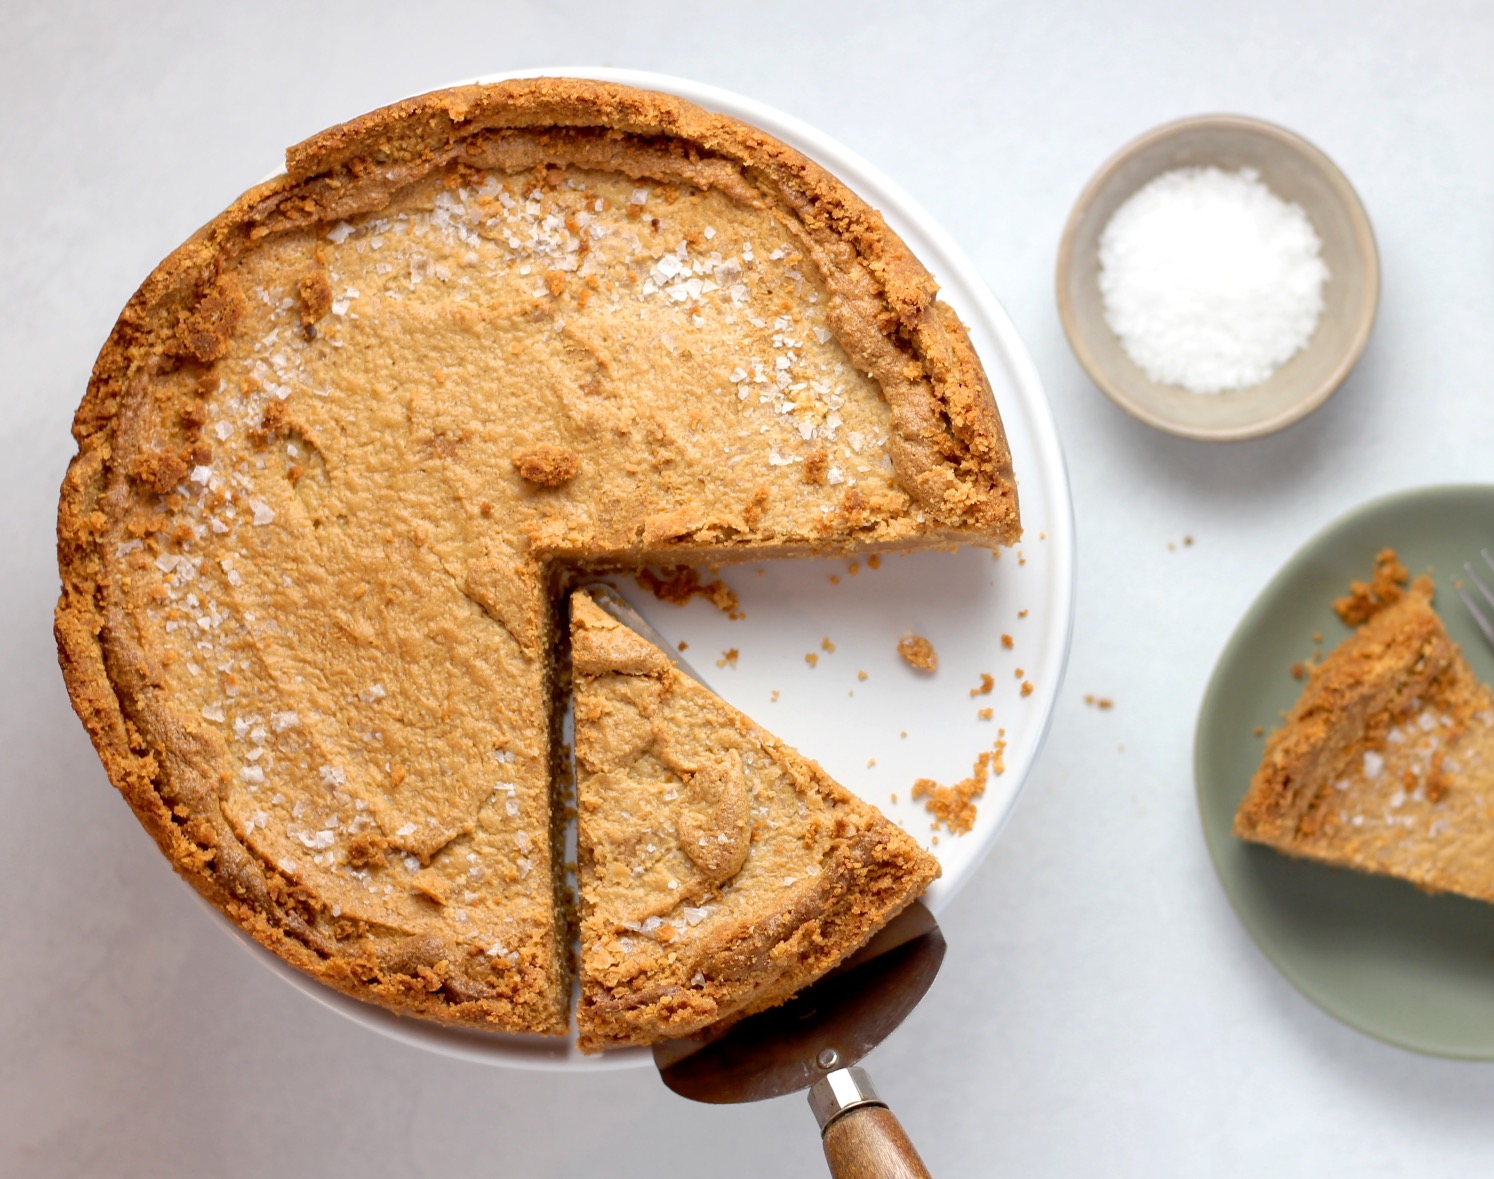
Let's say you have the lighting down— now how do you go about styling everything else? Here are a few ideas of how to style your pies.Before you start baking your pie it may be worth it to pick up packaging or extra ingredients to use for your photos. You may of course have extra ingredients as well to use for leftovers.Think of the type of pie you are making and decide what you need.
Common American Pies may be Apple Pie, Pumpkin Pie, Pecan Pie, Cherry Pie.Common Canadian Pies may include Butter Tart Pie, Saskatoon Berry Pie, Common Puerto Rican Pies may include Sweet potato pies, guava pie, pineapple pie, Coconut pieHere are some prop ideas for the final shoot - Adding ingredients like fruits, adding sugar, or silverware.
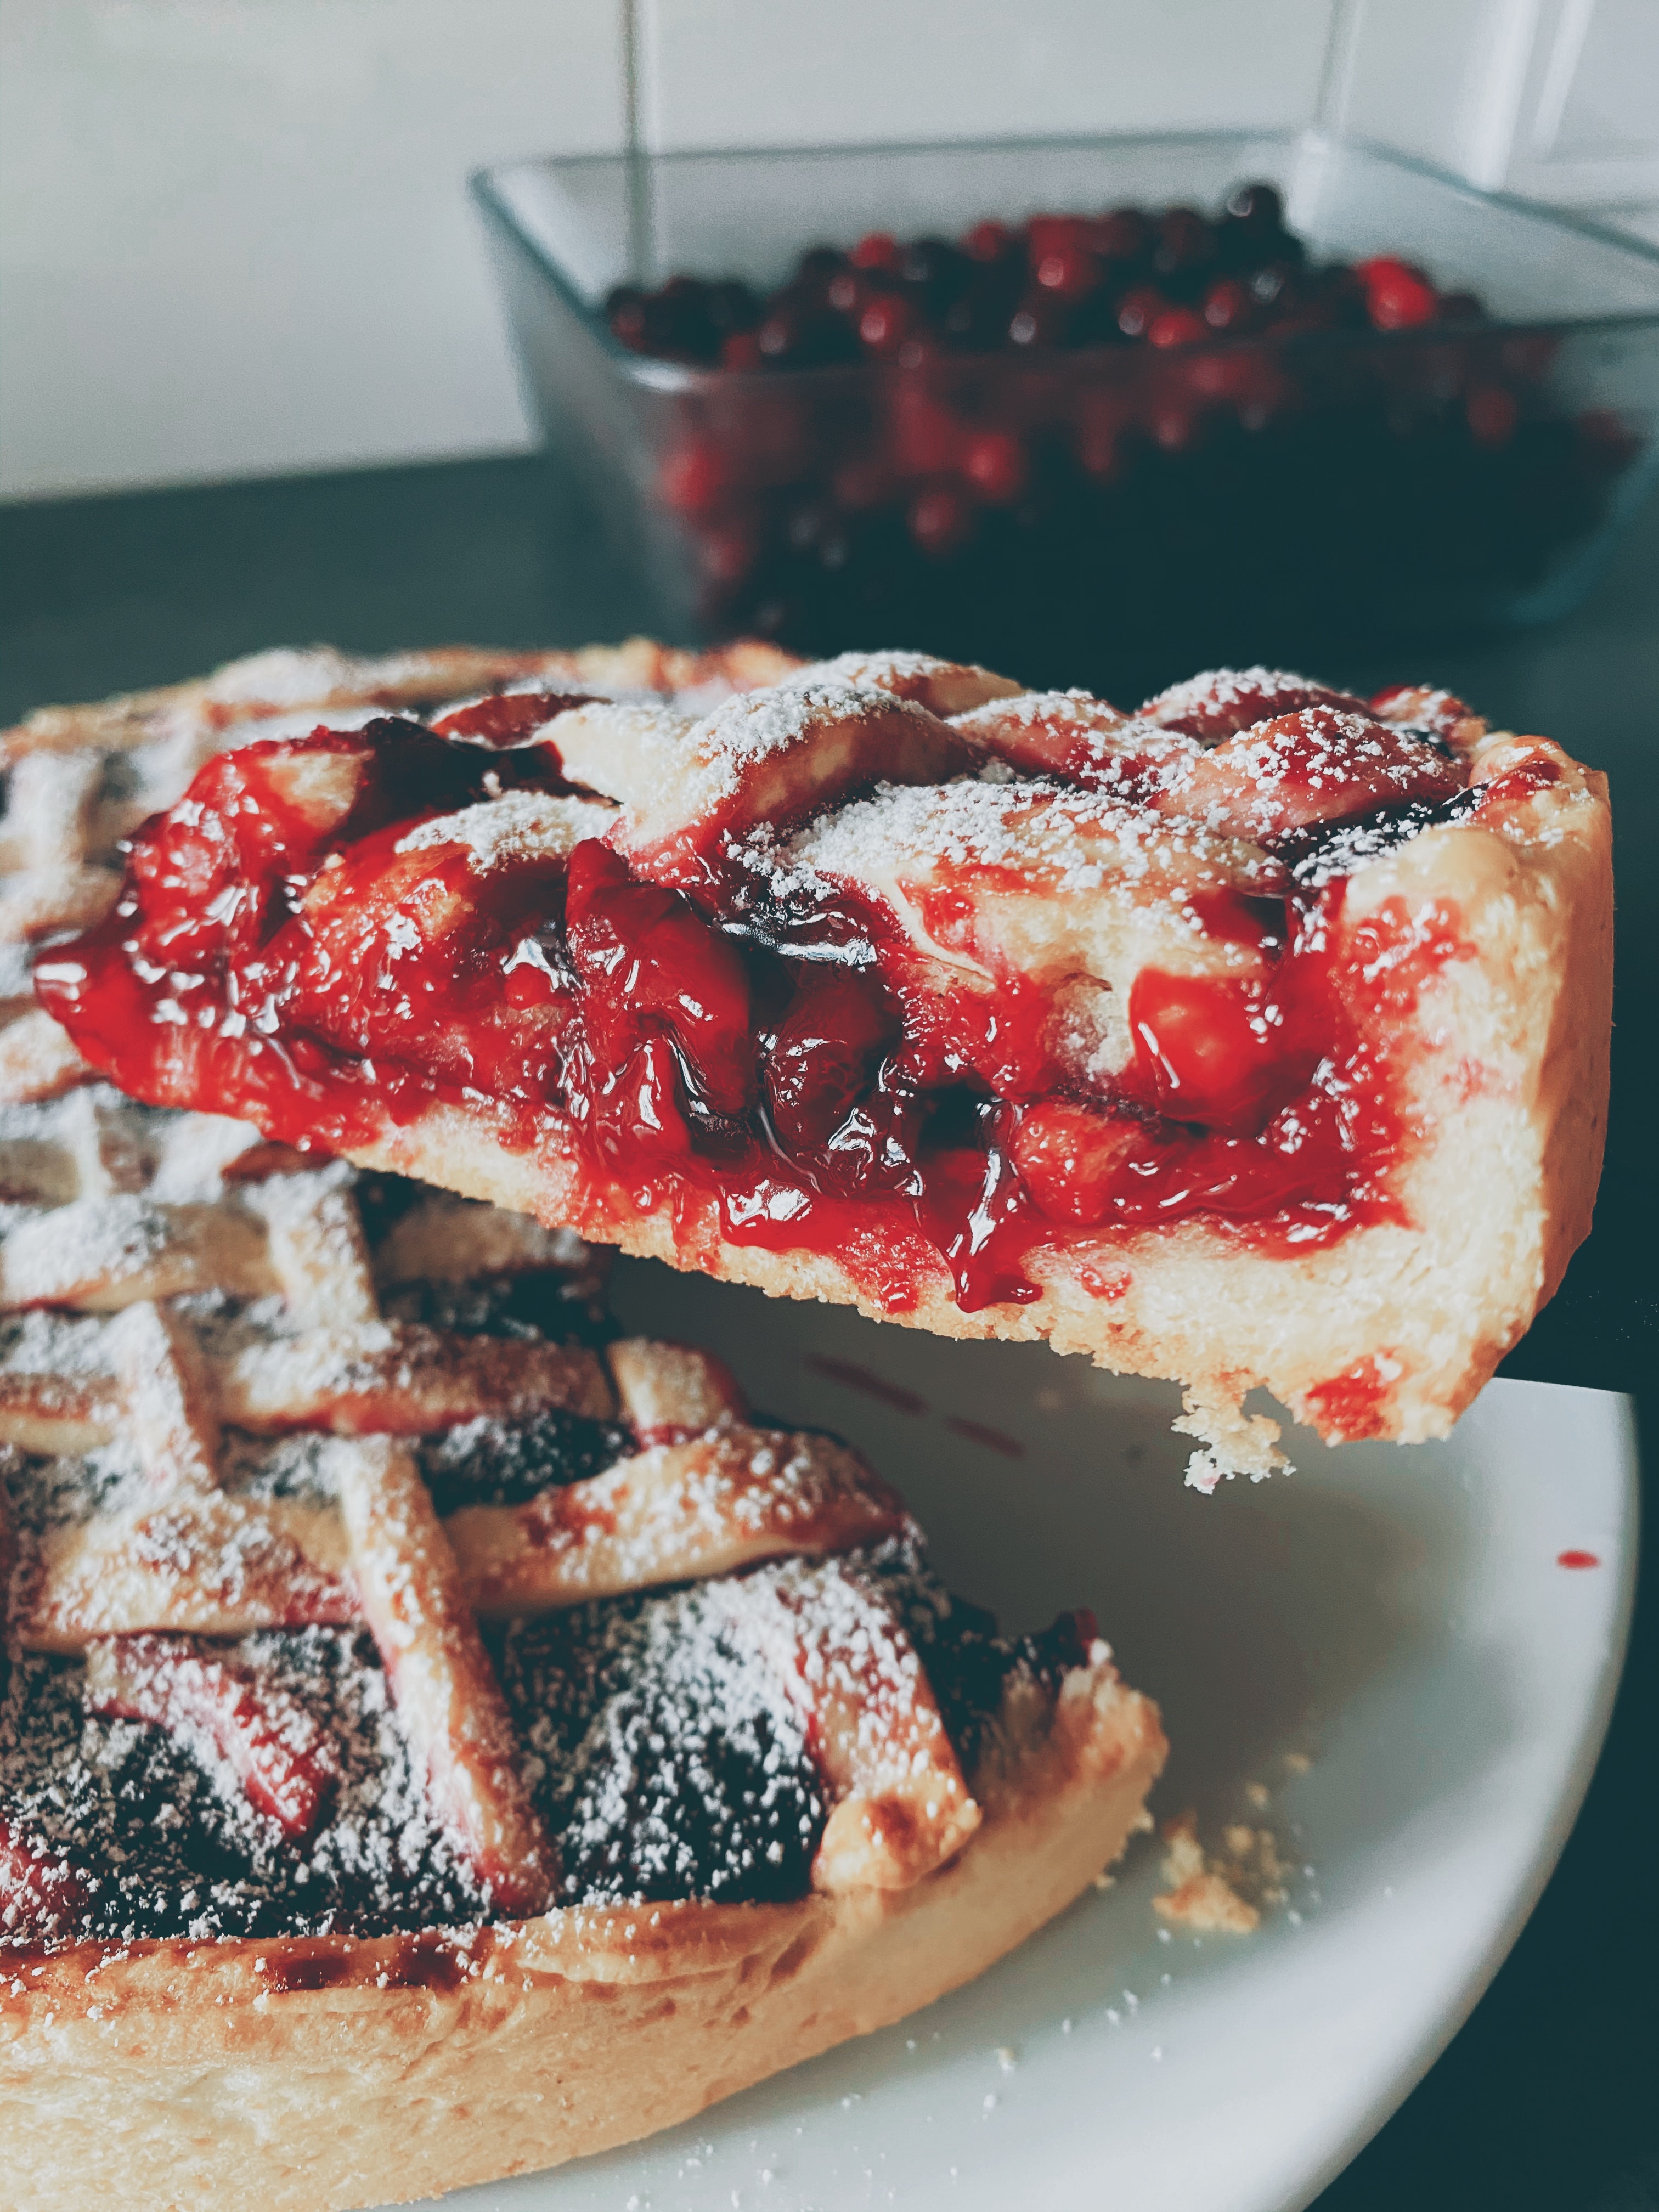
Apple Pie - Brown Sugar, Flour Bags or grains, Cinnamon grains
Pumpkin pie- Pumpkin, Milk, Ginger
Cherry Pie - Almonds, Cherry, Butter
Butter Tart- Butter, Brown Sugar grains, Eggs, Vinegar
Saskatoon Berry- Saskatoon Berries, Sugar, Flour
Sweet Potato Pie - Milk, Sugar,Eggs, Butter
Guava Pie, Guava Paste- Cream Cheese, Milk
Pineapple Pie - Pineapple, Sugar, Eggs, Milk
Coconut Pie - Coconuts, Butter, Eggs
You can add these ingredients to the side or at an angle to the actual pie. Just remember to bring a wipe so that you can easily clean them up.Also consider using human subjects as a prop. We will get back to this in the last section
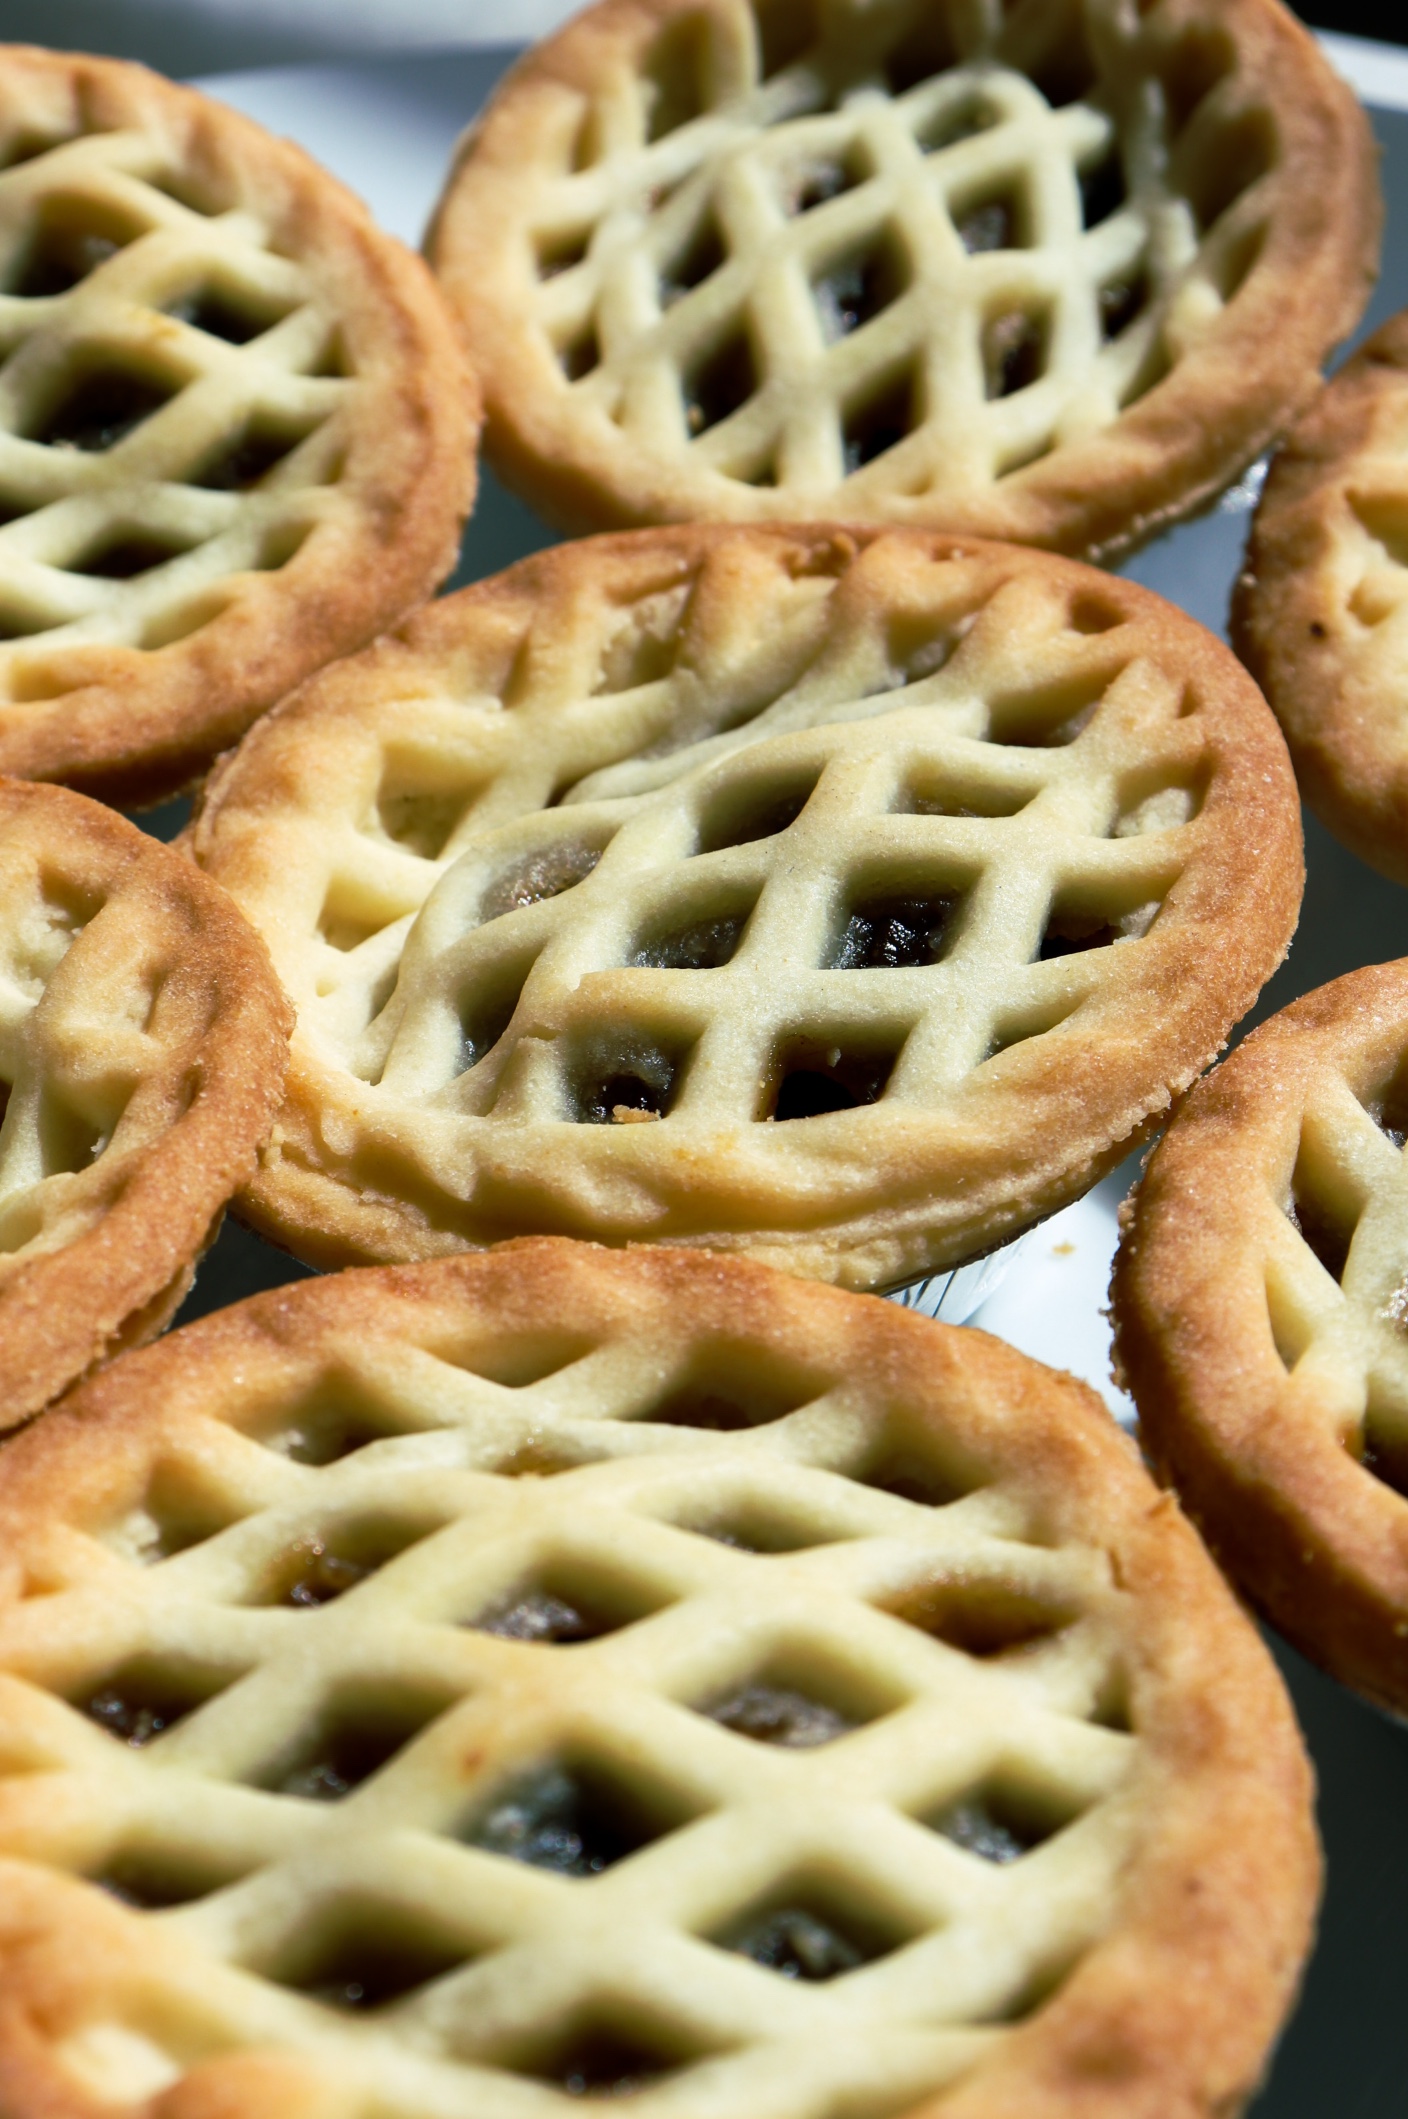
There are different ways and positions to take photos of a pie. Start with the basics and work your way up to the ones you may not know how to light. This is generally how I work projects through lighting what I know to more complex ones after you get the hang of what the final subject is.
