
Whether you are new to a camera or trying to learn more techniques, night photography may be the perfect challenge. Night photography comes with challenges such as low light but also brings new ways of capturing photos. This article will go over camera gear, setting techniques, types of light sources and more.
What type of gear should you get for night photography? There are some cameras that perform better in low light conditions, often these types of cameras have a wide dynamic range. Dynamic range allows your camera to capture light and dark areas when you are photographing. There are some cameras that are better at this than others, often noted that Sony is great for this.
Not only should the camera have a good dynamic range but they should also be able to have the ability for high ISO. Depending on the situation higher ISOs are needed for exceptionally dark situations.
ISO stands for the International Standards Organization. The ISO represents the sensitivity of the camera's sensor. Each camera sensor varies from system to system and product lines. Cameras with a higher ISO such as 450000 will allow you to capture photos in the dark.
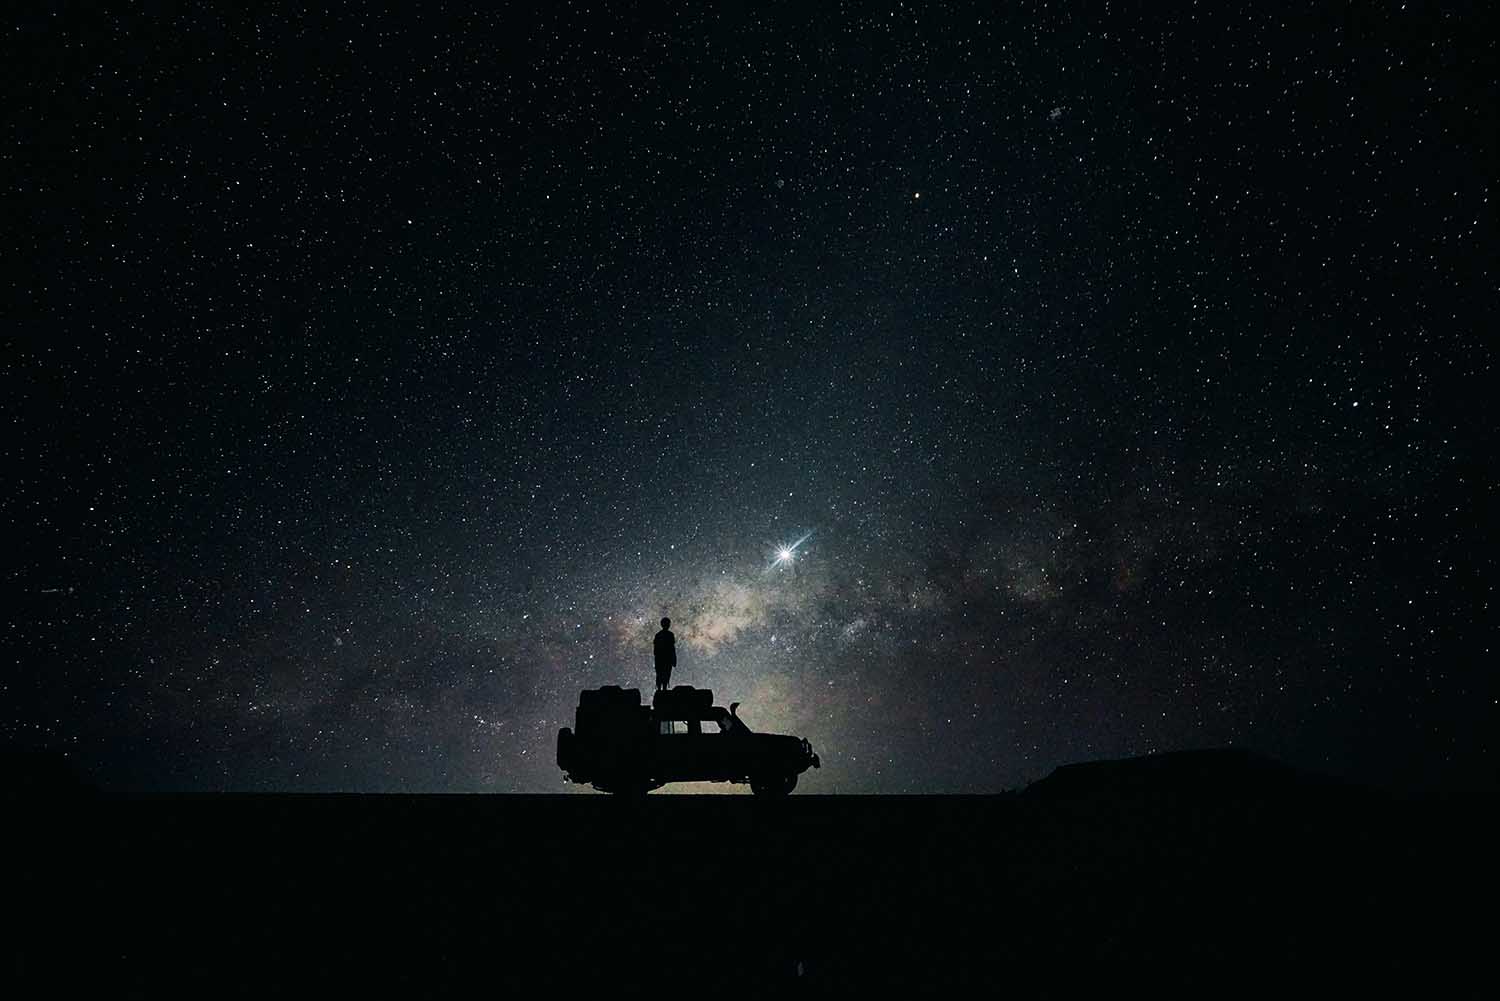
It should be noted that having a larger ISO will increase the sensitivity but this also creates more noise. It may be worth using a demonized or Lightroom’s new AI Feature to reduce noise.
One of the things I often forget about night photography is tripods. Tripods can be great for long exposures and portraits. Read More aboout Night Photography Tripods
There are different sizes of tripods that you can use for night photography. A couple sizes to keep in mind are travel size tripods, full-sized tripods, and larger-sized tripods. Your travel size tripods are great if you need to move from location to location but they are often lightweight and may be easier to fall over.
Full tripods are great for height changes but they may be heavier as well.
Let’s talk about lenses. There are many different options for lenses for night photography. Each lens will depend on both what you are shooting and the camera you chose.
Generally, the lenses that are fast and have larger physically larger lenses will give you the most amount of light. An example of this is shooting at f/1.2 through f/4; every stop in between will allow you to 2 stops of light difference.
Some examples of night photography lenses include wide-angle 18-35mm f/2.8, 35mm f/1.4.
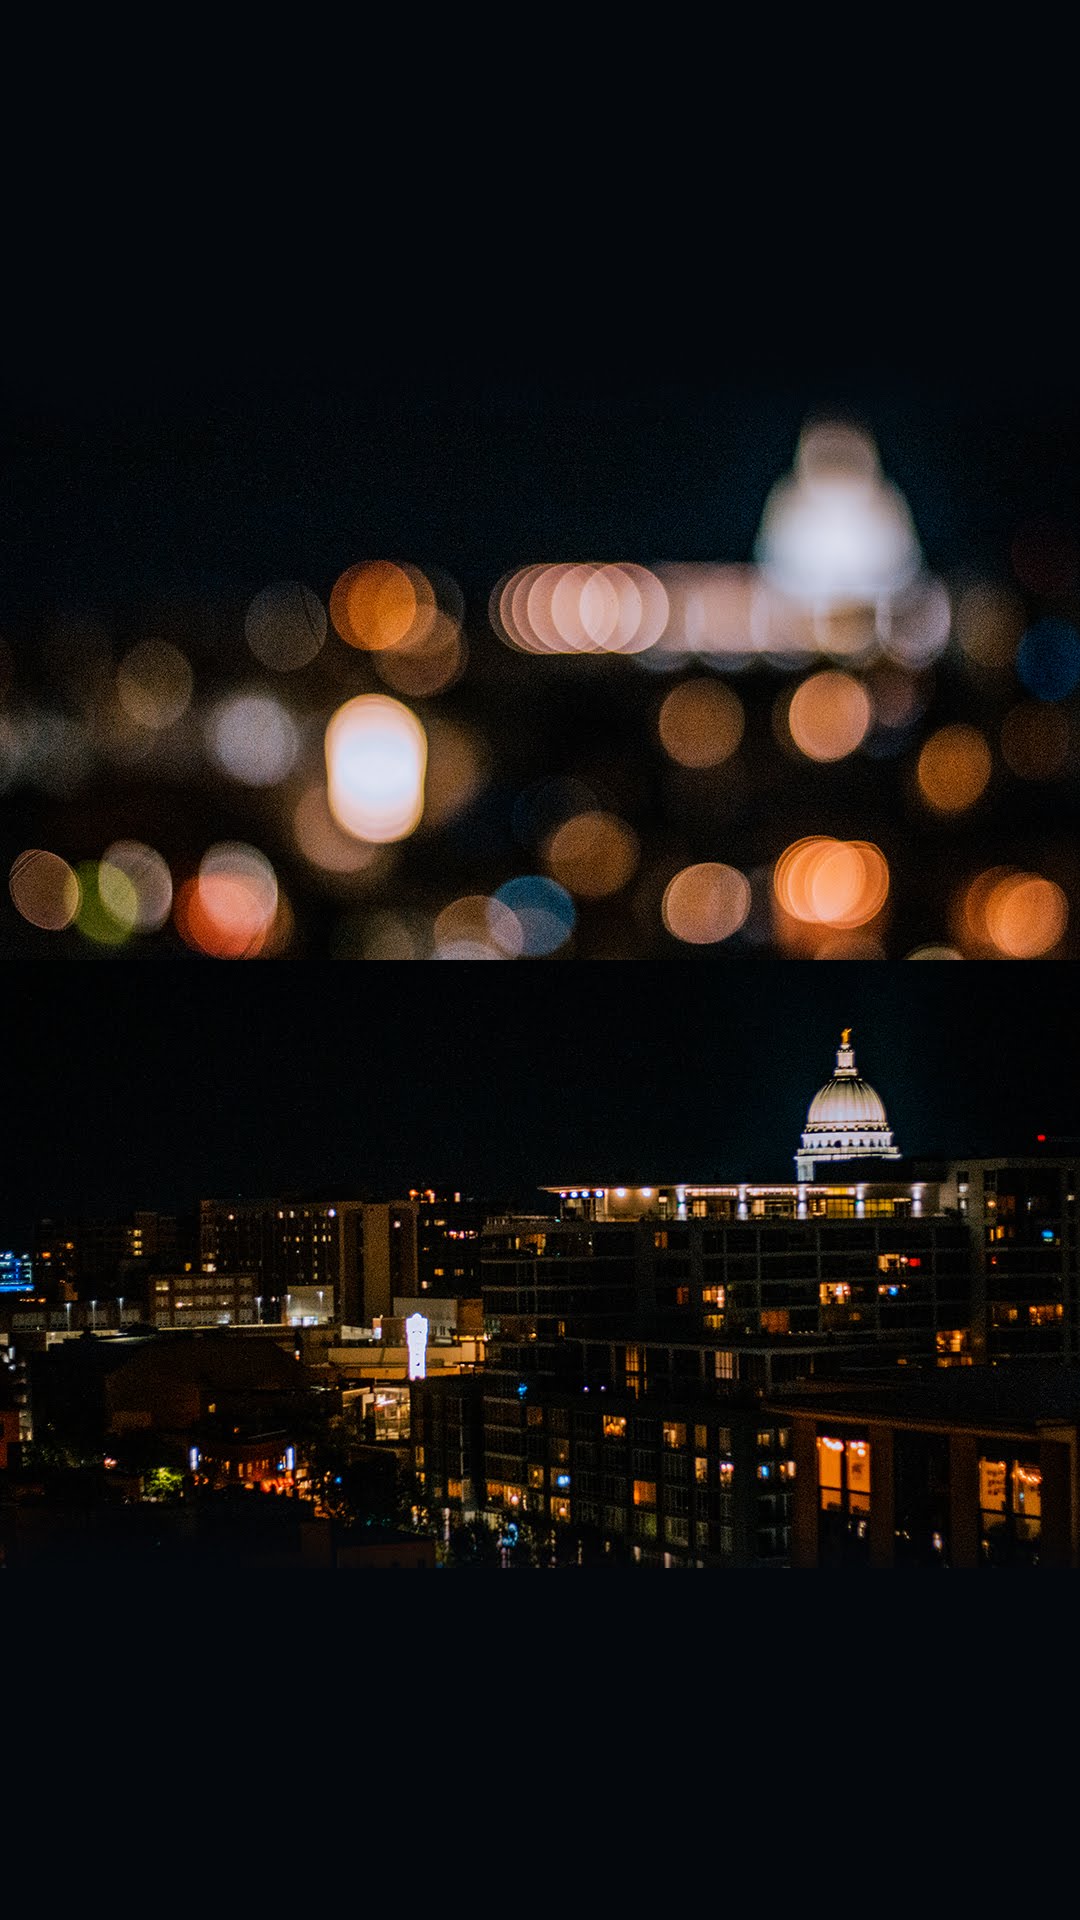
Another useful photography tool is the remote shutter release. This tool removes most camera shake from the camera. Although I have used one before, I prefer the ability to use a mobile app that is often made by the camera manufacturer, allowing you to remote shutter straight to a phone. This is also a cheaper alternative than a camera shutter.
It may be helpful to review the Exposure triangle that involves ISO, shutter speed, and aperture. Although it is nice to have your ISO at 1090, it may be difficult and challenging to keep it at that level without a tripod's help.
Your shutter speed will also need to be lowered without compensation and balance from the ISO or lowering the aperture number. Shutter speeds such as 2s or 7s will be your ideal to keep your ISO low.
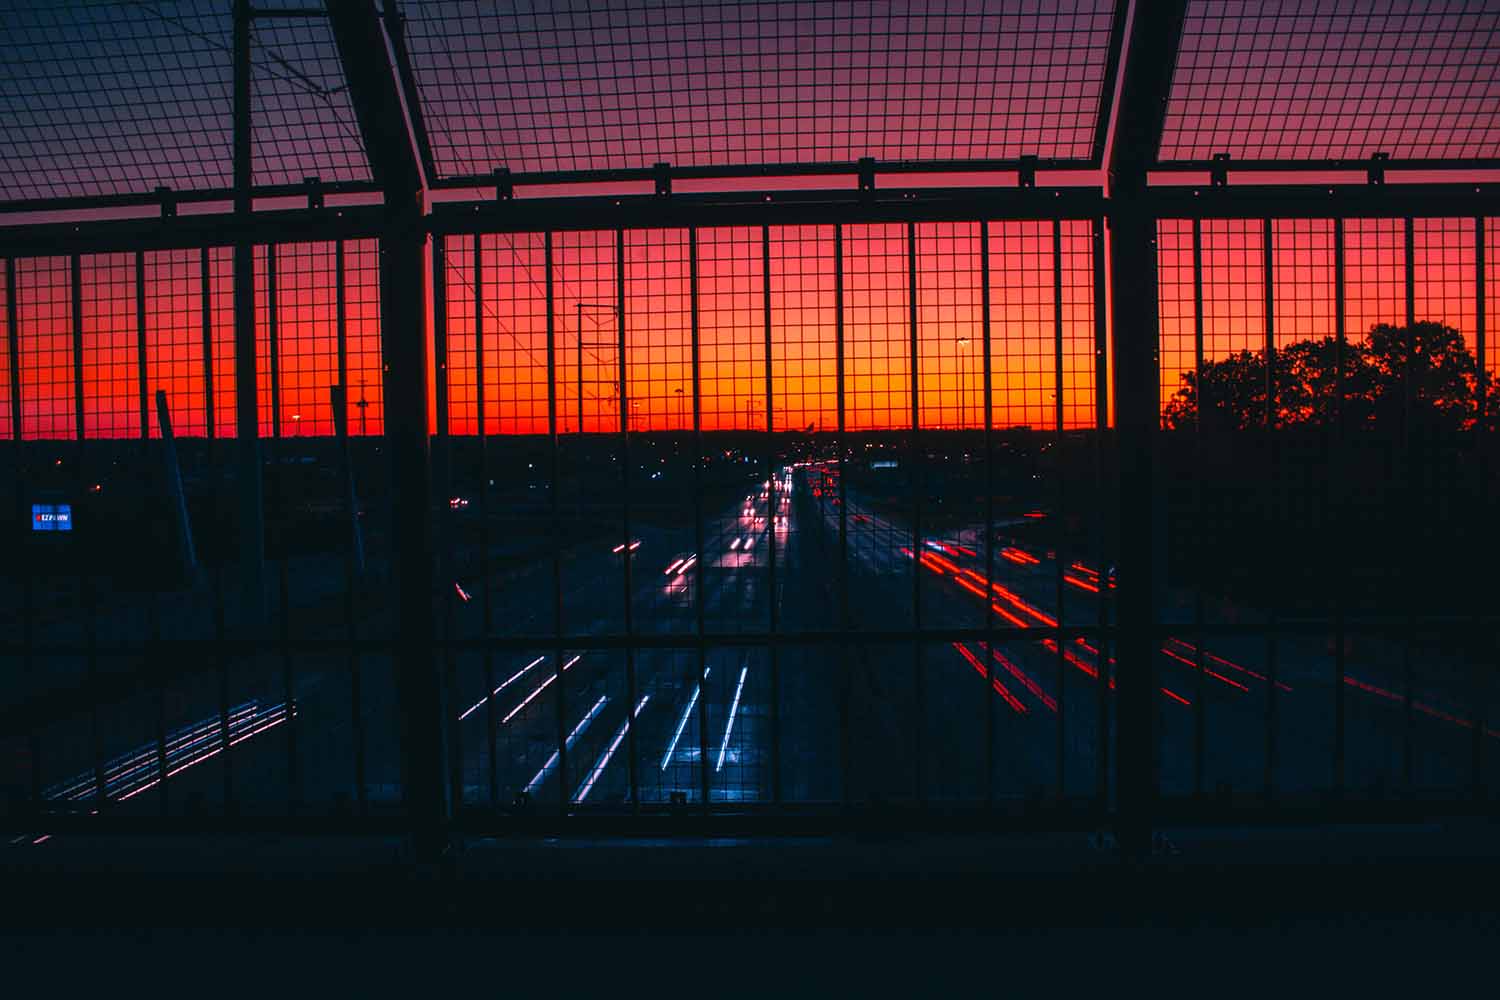
The exposure triangle is a way that you guide the way you change your settings. I personally do it by the artistic style I want to share. This way, I have one setting that I need to stay the same the entire time, such as a low ISO for no noise, a high shutter speed to remove blur or movement, or a high aperture to capture more focus on backgrounds.
In the low ISO case, the exposure triangle would have to compensate for the low ISO by changing either the shutter speed or the aperture. The shutter speed may go down to a few seconds during night photography. The aperture may also need to be low for this case to capture the image with a decent exposure. f/3.5 1s ISO 100
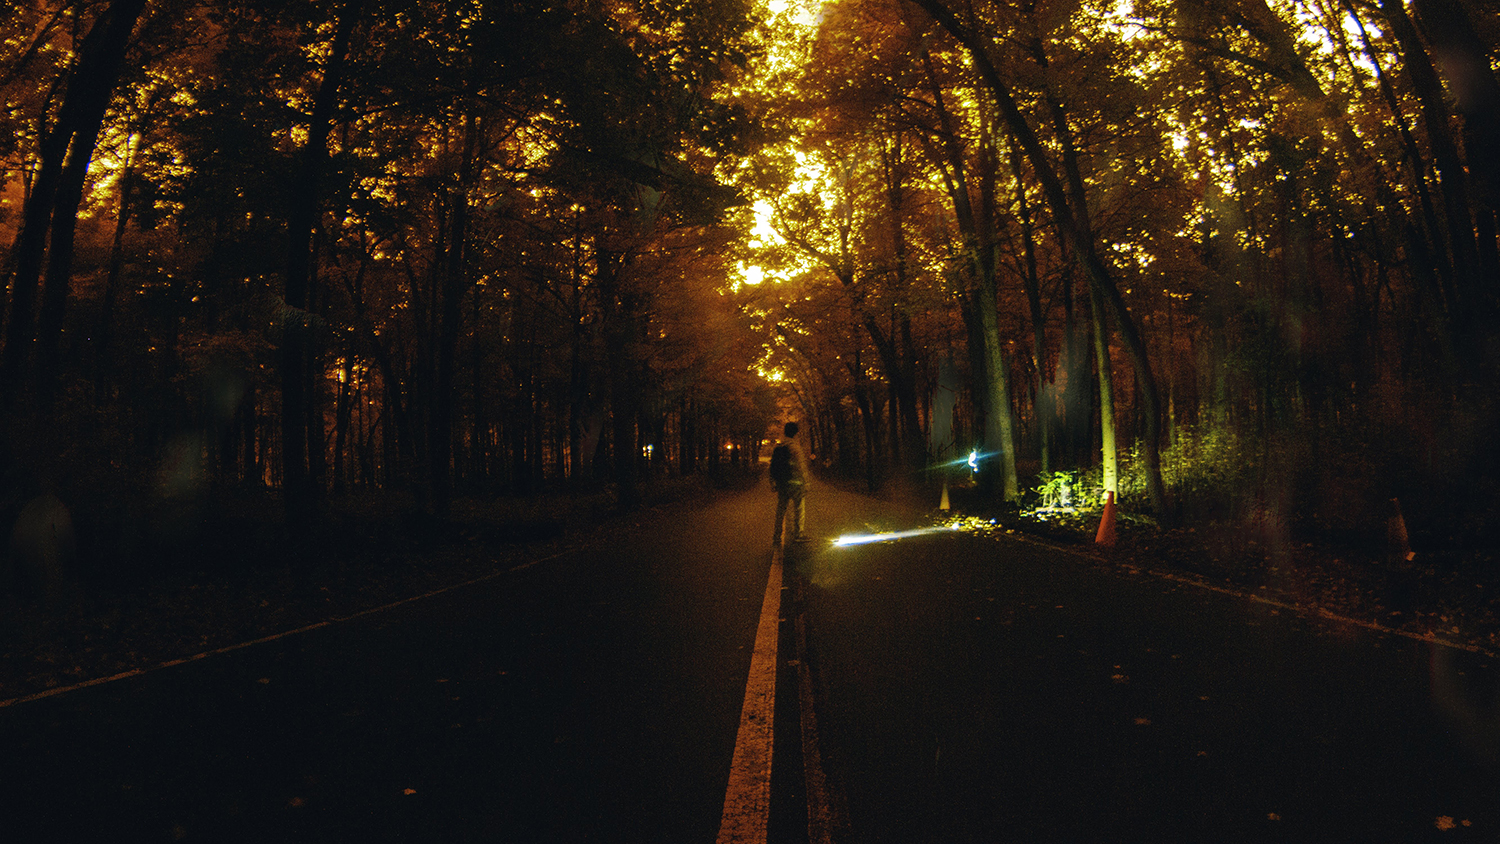
In the higher shutter speed case, you may be able to get away with 1/100th- 1/200th of a second, but you will need to adjust the aperture and the ISO accordingly. Changing the ISO to something like 1000, 2000, or higher is one way to compensate for the high shutter speed on the exposure triangle. However, this will create a large amount of noise. You will also have to decide on your aperture, which may be lower, such as f/5 or f/4. Sample exposure f/3.5 1/100th s ISO 2000
The last case includes a high aperture, this is common in night photography. Although there are more tricks for lighting landscapes, we will not be going over these techniques. Having a high aperture will require the change in ISO or shutter speed. This is where a tripod can be a good idea for keeping the camera steady. The shutter speed may be able to go under a few seconds or higher such as 1s to 15s. Sample exposure f/22 15s ISO 100
Read over the beginning again if you need to and try it out yourself too.
Noise reduction techniques are also important when working with night photography. You may find interest in using noise reduction on editing apps and tools but you can also attempt to lower it in camera. ISO is the main factor of noise sensitivity in a camera.
Higher ISO numbers will create noise. Depending on your camera, this may also bring colored noise into your image. Low ISO such as 100 is ideal for night photography but this is rarely the case. If you try to use ISO 100 at night, you may end up with a black screen. This is why when the sun goes down your settings need to be changed immediately to get back an image (this is assuming you are in manual mode and not a low light mode)
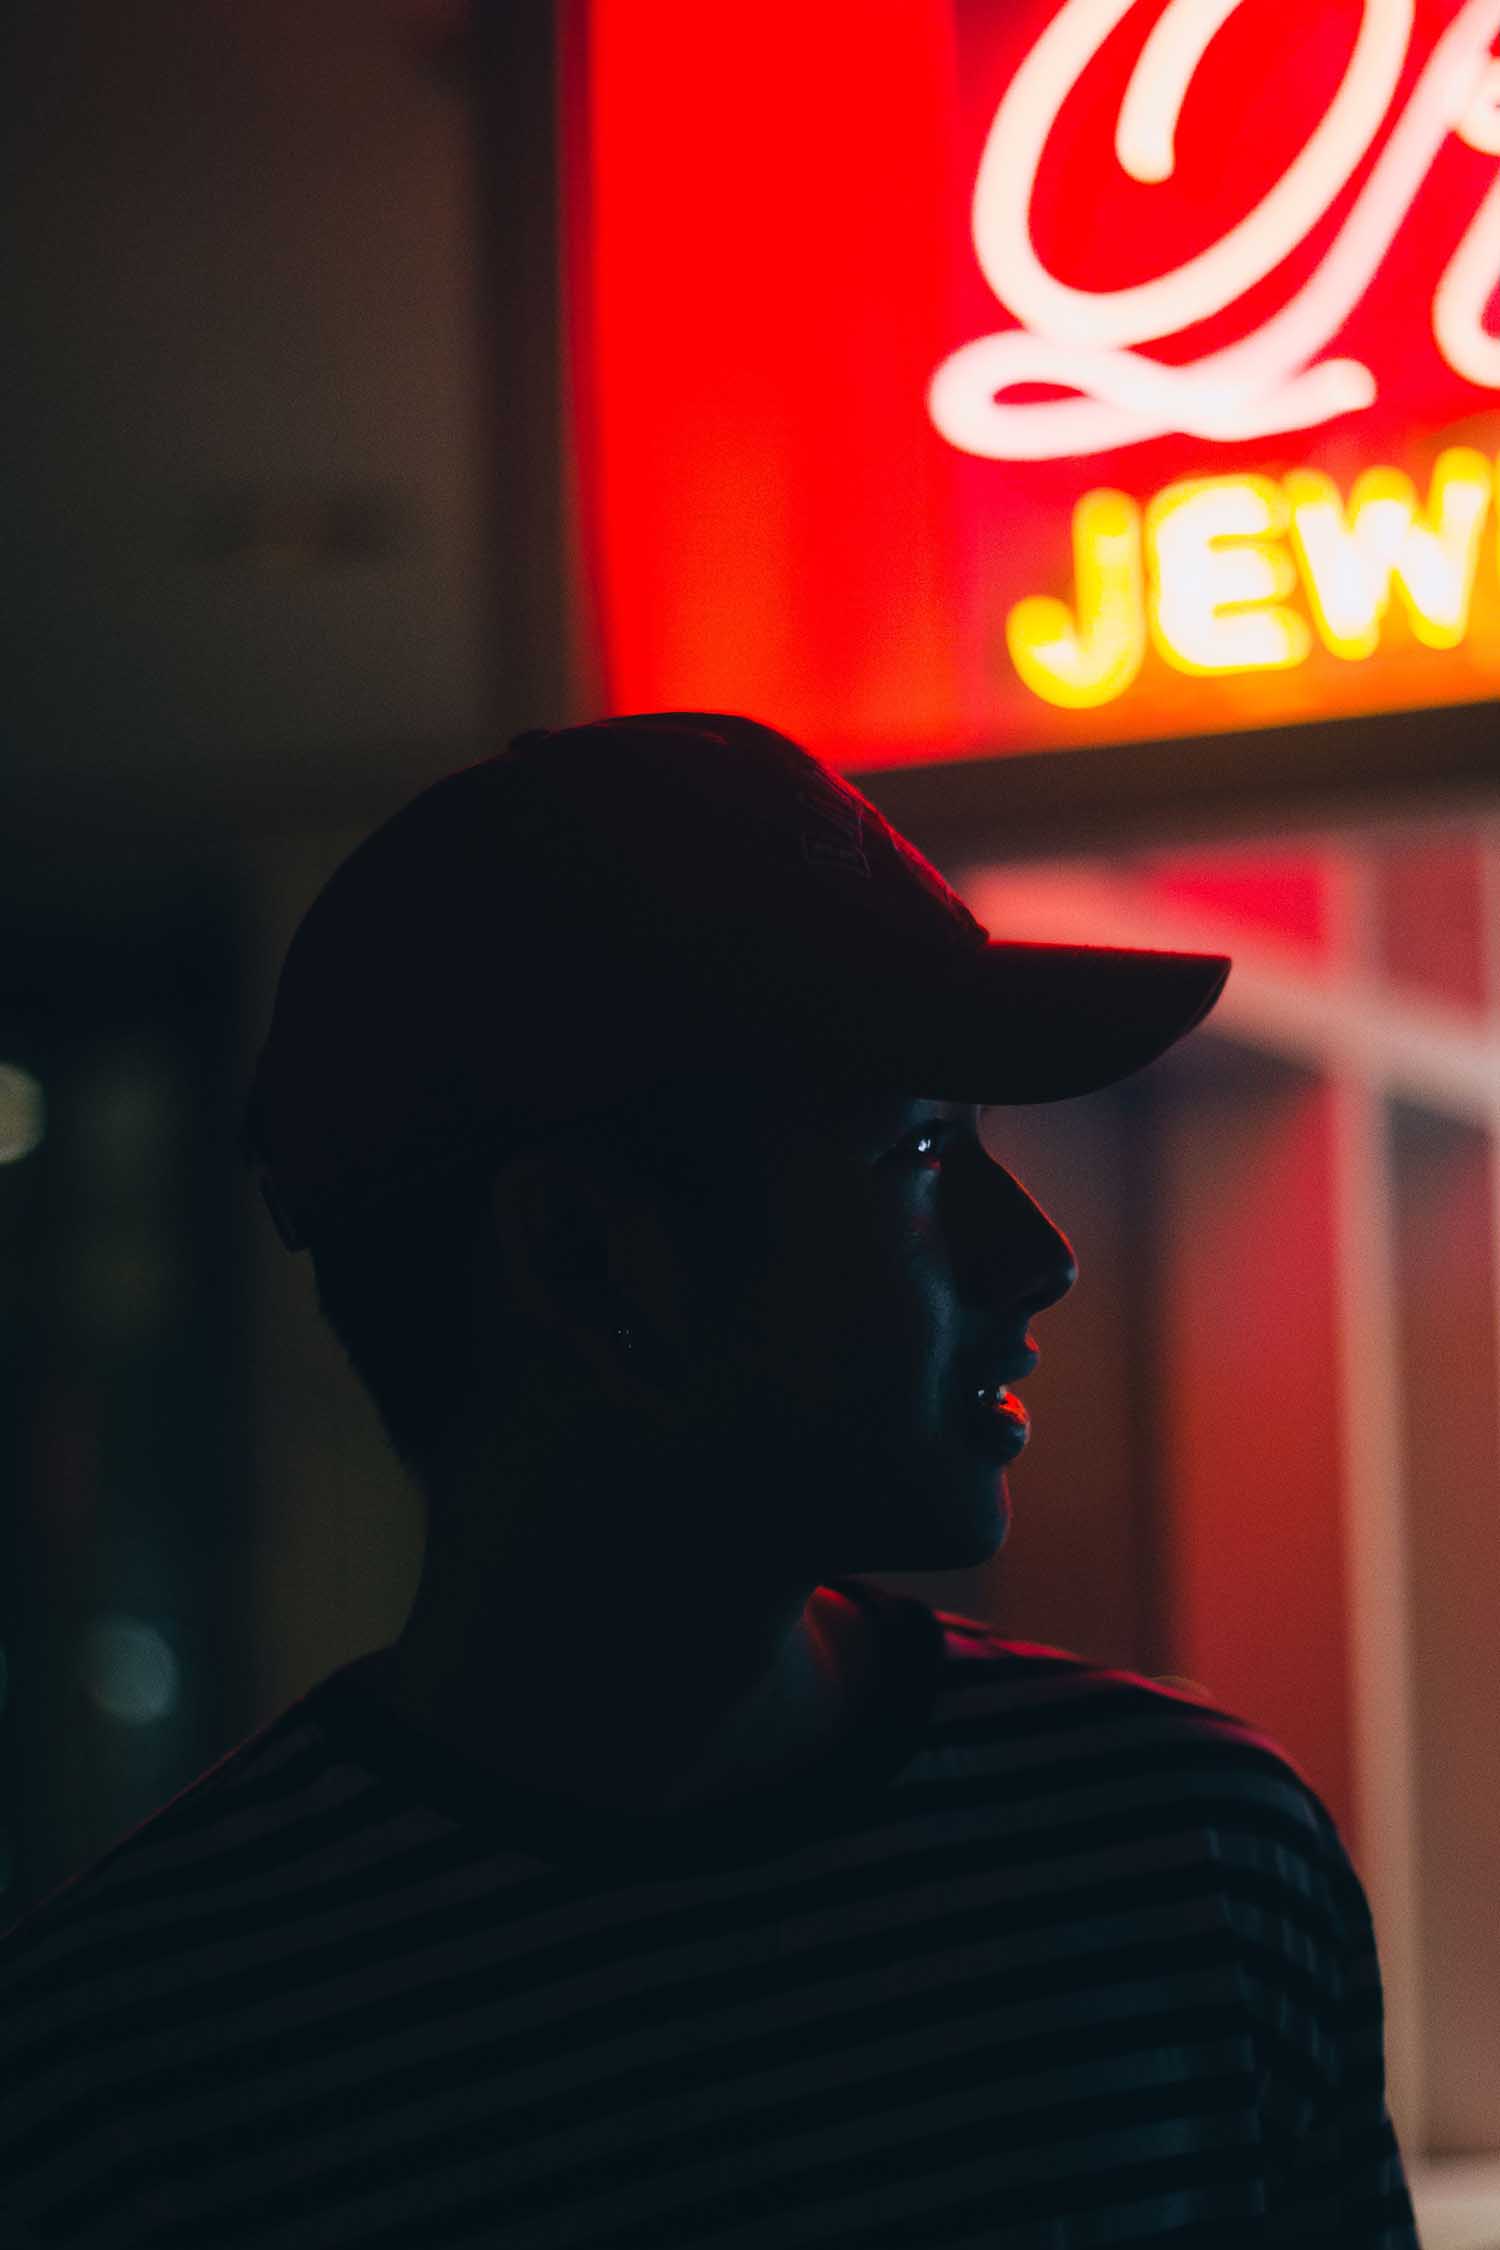
Noise reduction techniques for night photography also include using editing apps like Lightroom, Dehancer, or Photoshop. There are tutorials on YouTube with different techniques. With the April 2023 Lightroom, the AI denoise feature allows you to reduce noise in your images and helps improve quality on your photo.
Additionally, you can use Photoshop by itself to use a noise reduction. These noise reduction tools will lose some of the quality of the original image, so make sure that you are using the right amount for what you are working on.
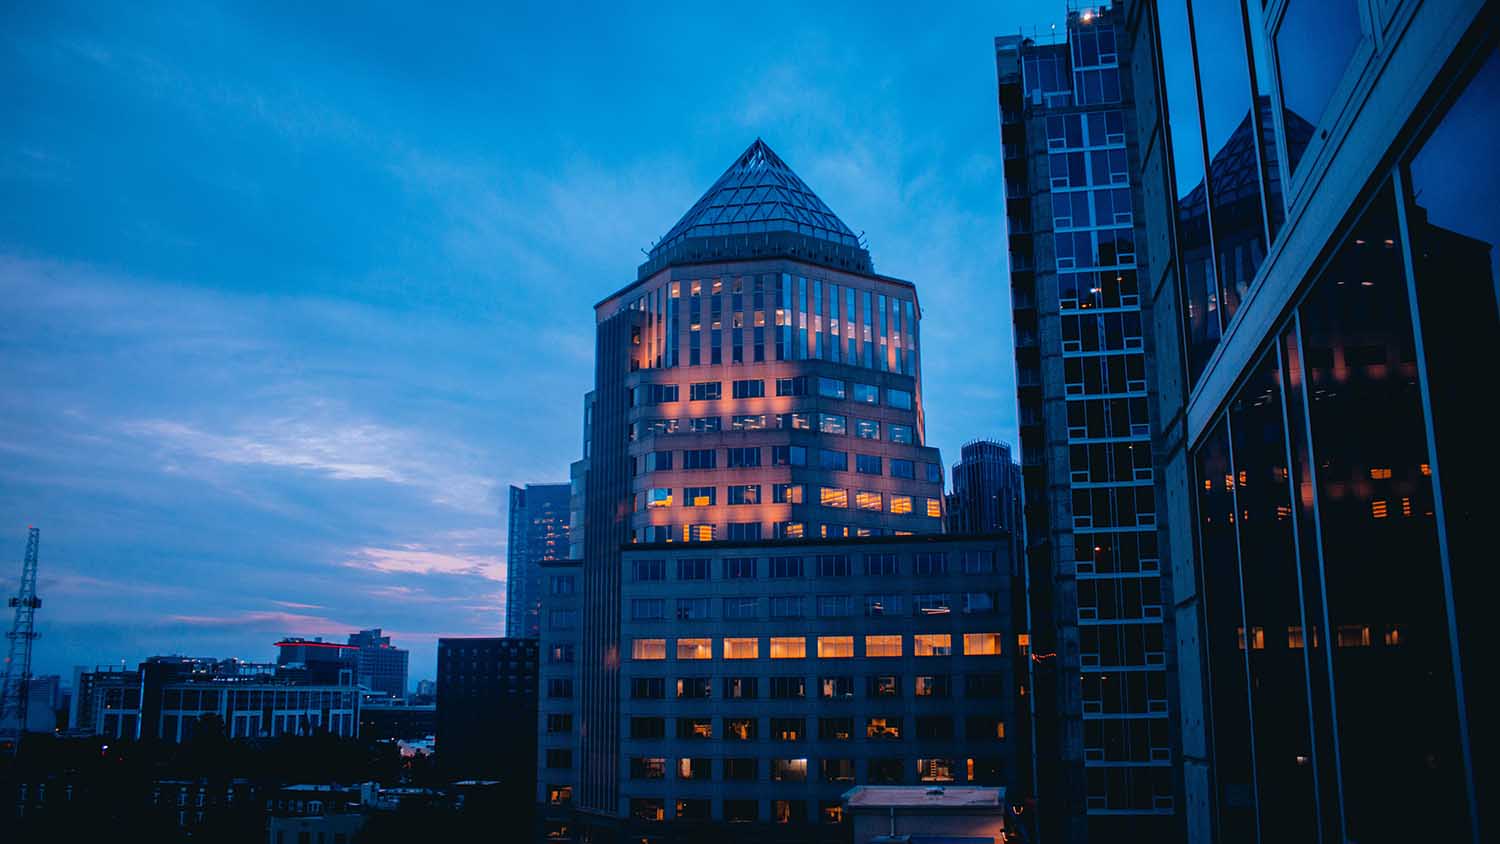
Long exposure is one of the photo techniques you can do easily in Night Photography situations. Long exposures mean that the camera's shutter speed is open for a long amount of time. Although there are no settings for this exact situation, they may occur in 1 second to 30 seconds. With long exposure, you capture more light into your camera and may pick up light trails as well.
It is important while doing a long exposure to keep your camera steady and still. Handheld long exposures may have blurs because of small jitters in the hands. Additionally, it is best to use a tripod for exposures longer than 3 seconds.
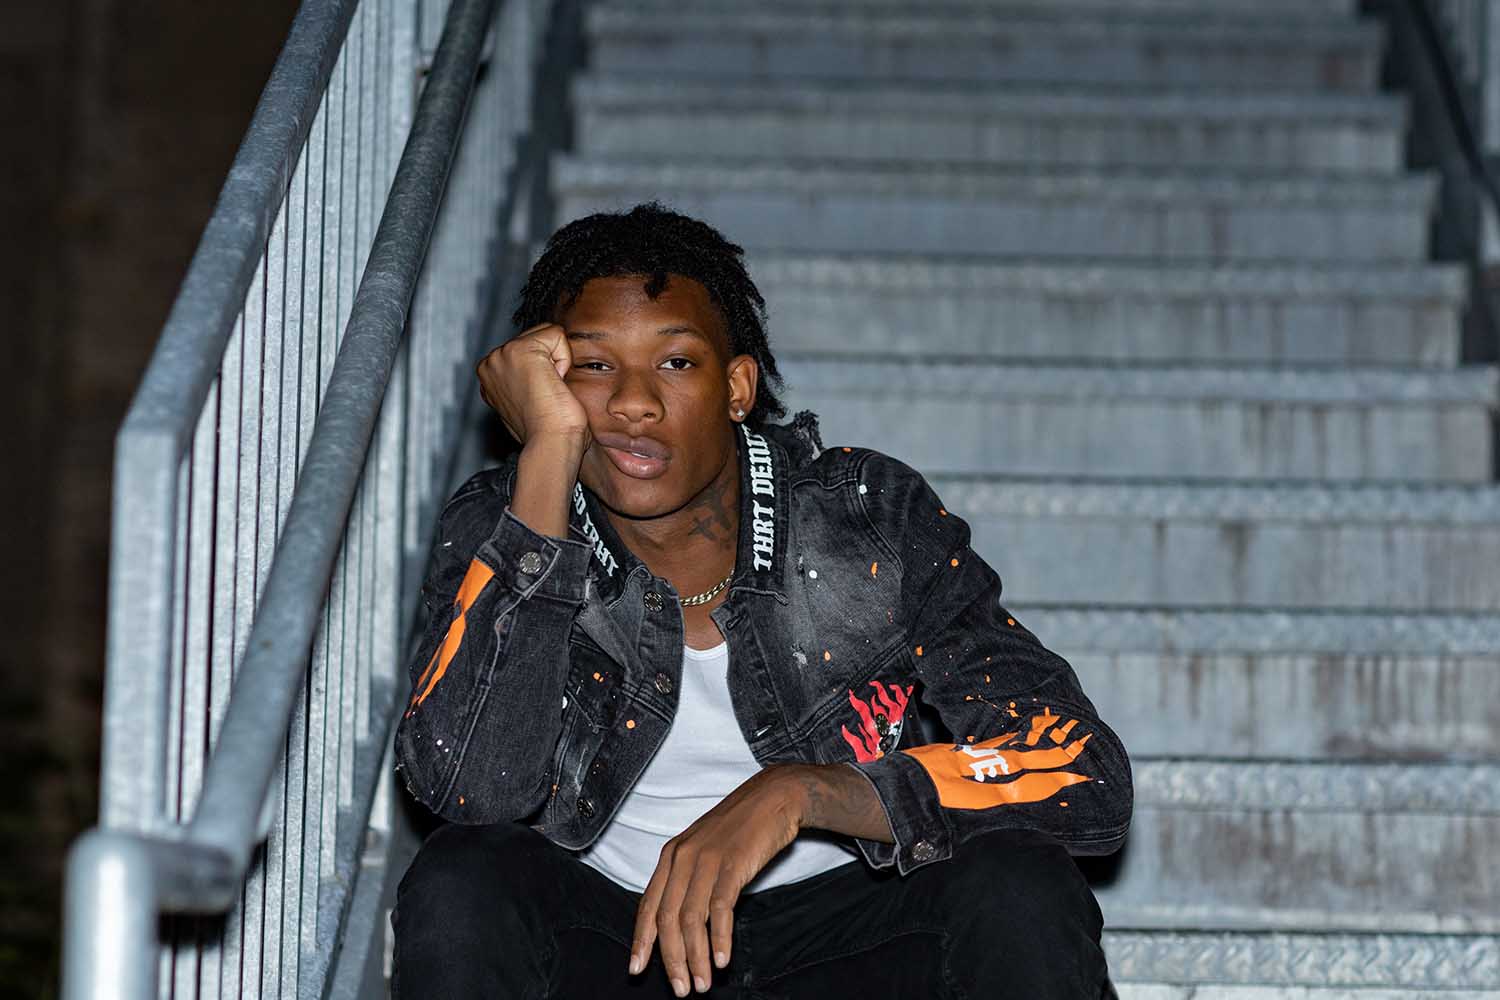
Using a tripod will reduce any motion and blur in your photos. However, this still leaves your hand from touching the shutter. You can either set your camera on for a timer to wait for your hand movements to stop moving the camera. You can also buy a remote shutter or use the manufacturer's mobile app as discussed above.
The trick with long exposures is to have the shutter open longer. This will mean that you change your ISO to something low like 400 or 200. This will reduce noise in your final image. The aperture depends on how much of the scene you would like to capture in focus.
One of the coolest things about a professional camera and professional editing equipment is bracketing and blending images. When I first started, I learned how to bracket right away but never used it until a situation came up. Now I use it more often to compensate for sunsets.
Bracketing means that you take multiple exposures of the same scene nearly at the same time. This is done in night photography to capture an entire scene from the foreground to the background. This is done by using 2, 3 or more stacks of photos. Some cameras also include this feature deep in the settings menu.
Usually, bracketing is done with 3 exposures. One exposure is the “correct” exposure that the camera thinks is correct. The other 2 exposures are on opposite sides. One of these is a positive +2 (or +1) exposure and the other is a negative -2 (or -1,-3 ect) exposure. You want the exposures on each side to be equal.
Together they create a grander exposure for the image. Now why would you want to do that you may ask? Sometimes night photography areas have high contrast areas that are difficult to take a photograph of in one exposure. Using multiple exposures you can capture the different areas of the photo.
Combining the photos is one last part to get these photos right. You must either combine the photos in camera or using an editing tool like Photoshop or Lightroom. The feature may be listed under merge, blending or HDR photos. It is important to note that this is the same why you make High Dynamic Range photos (HDR) but it can be toned down to create great night photography photos.
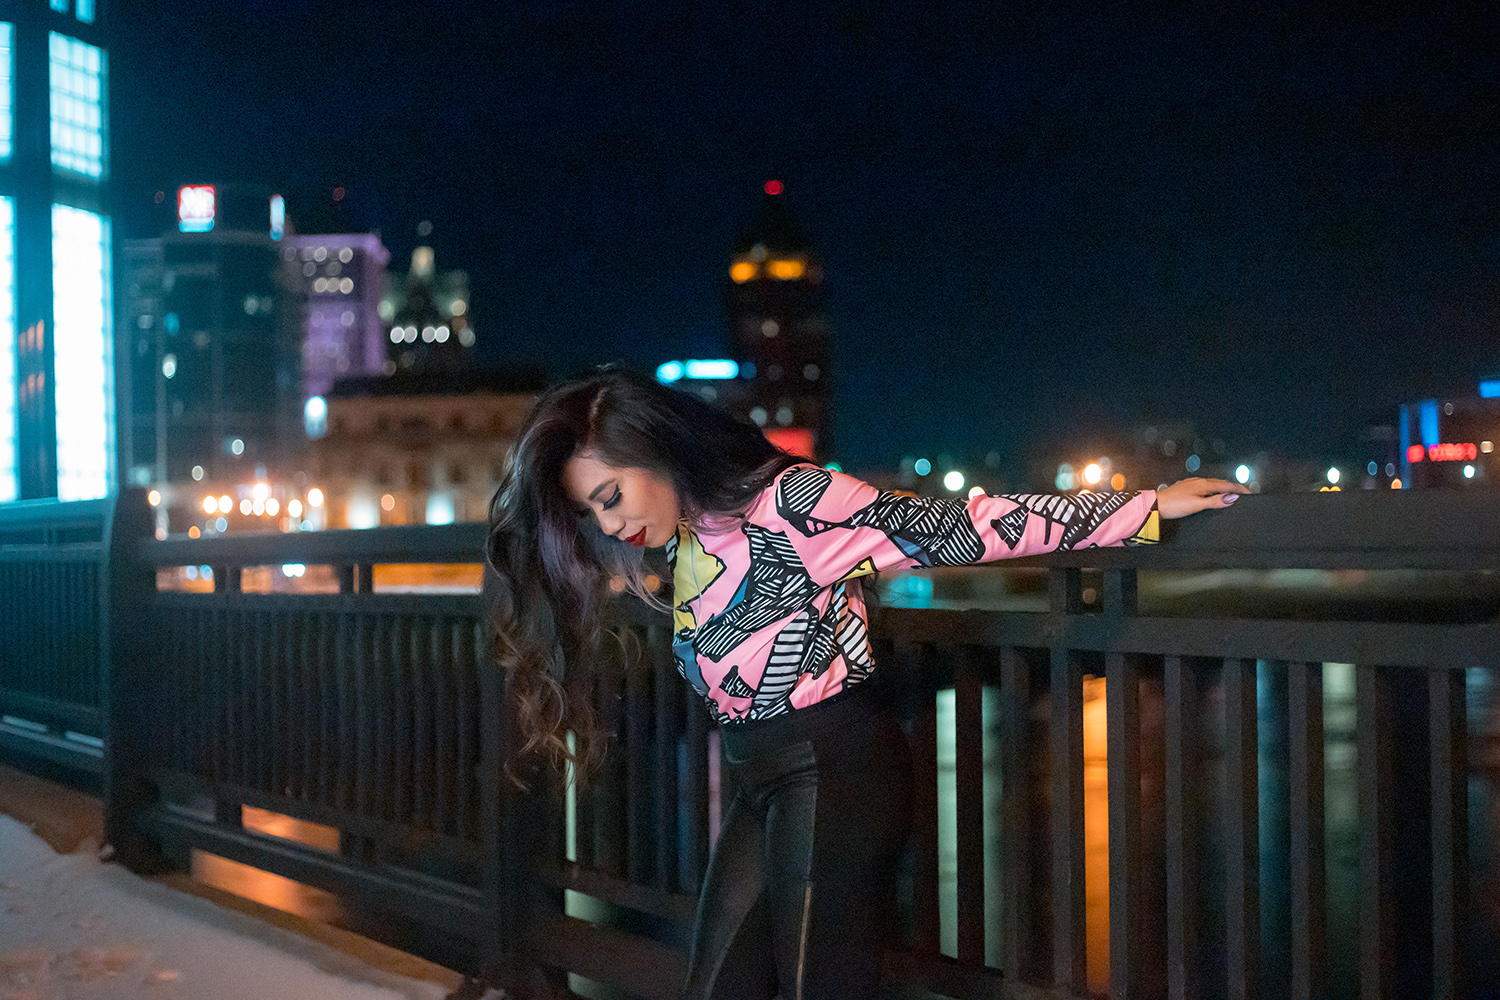
When you are thinking of night photography, think of the different things that will bring you light and the hues of these light sources. Often if you are in a city you will have light sources that are bright, hard and may be tungsten or LED lights. You may want to adjust your camera White Balance accordingly.
Additionally, moonlight can help with night photography as well as the moon illuminates a blue tone on most nights. The moon can also help when it’s not there too. Nights without the moon are great for astrophotography, taking photos of stars and taking long exposures.
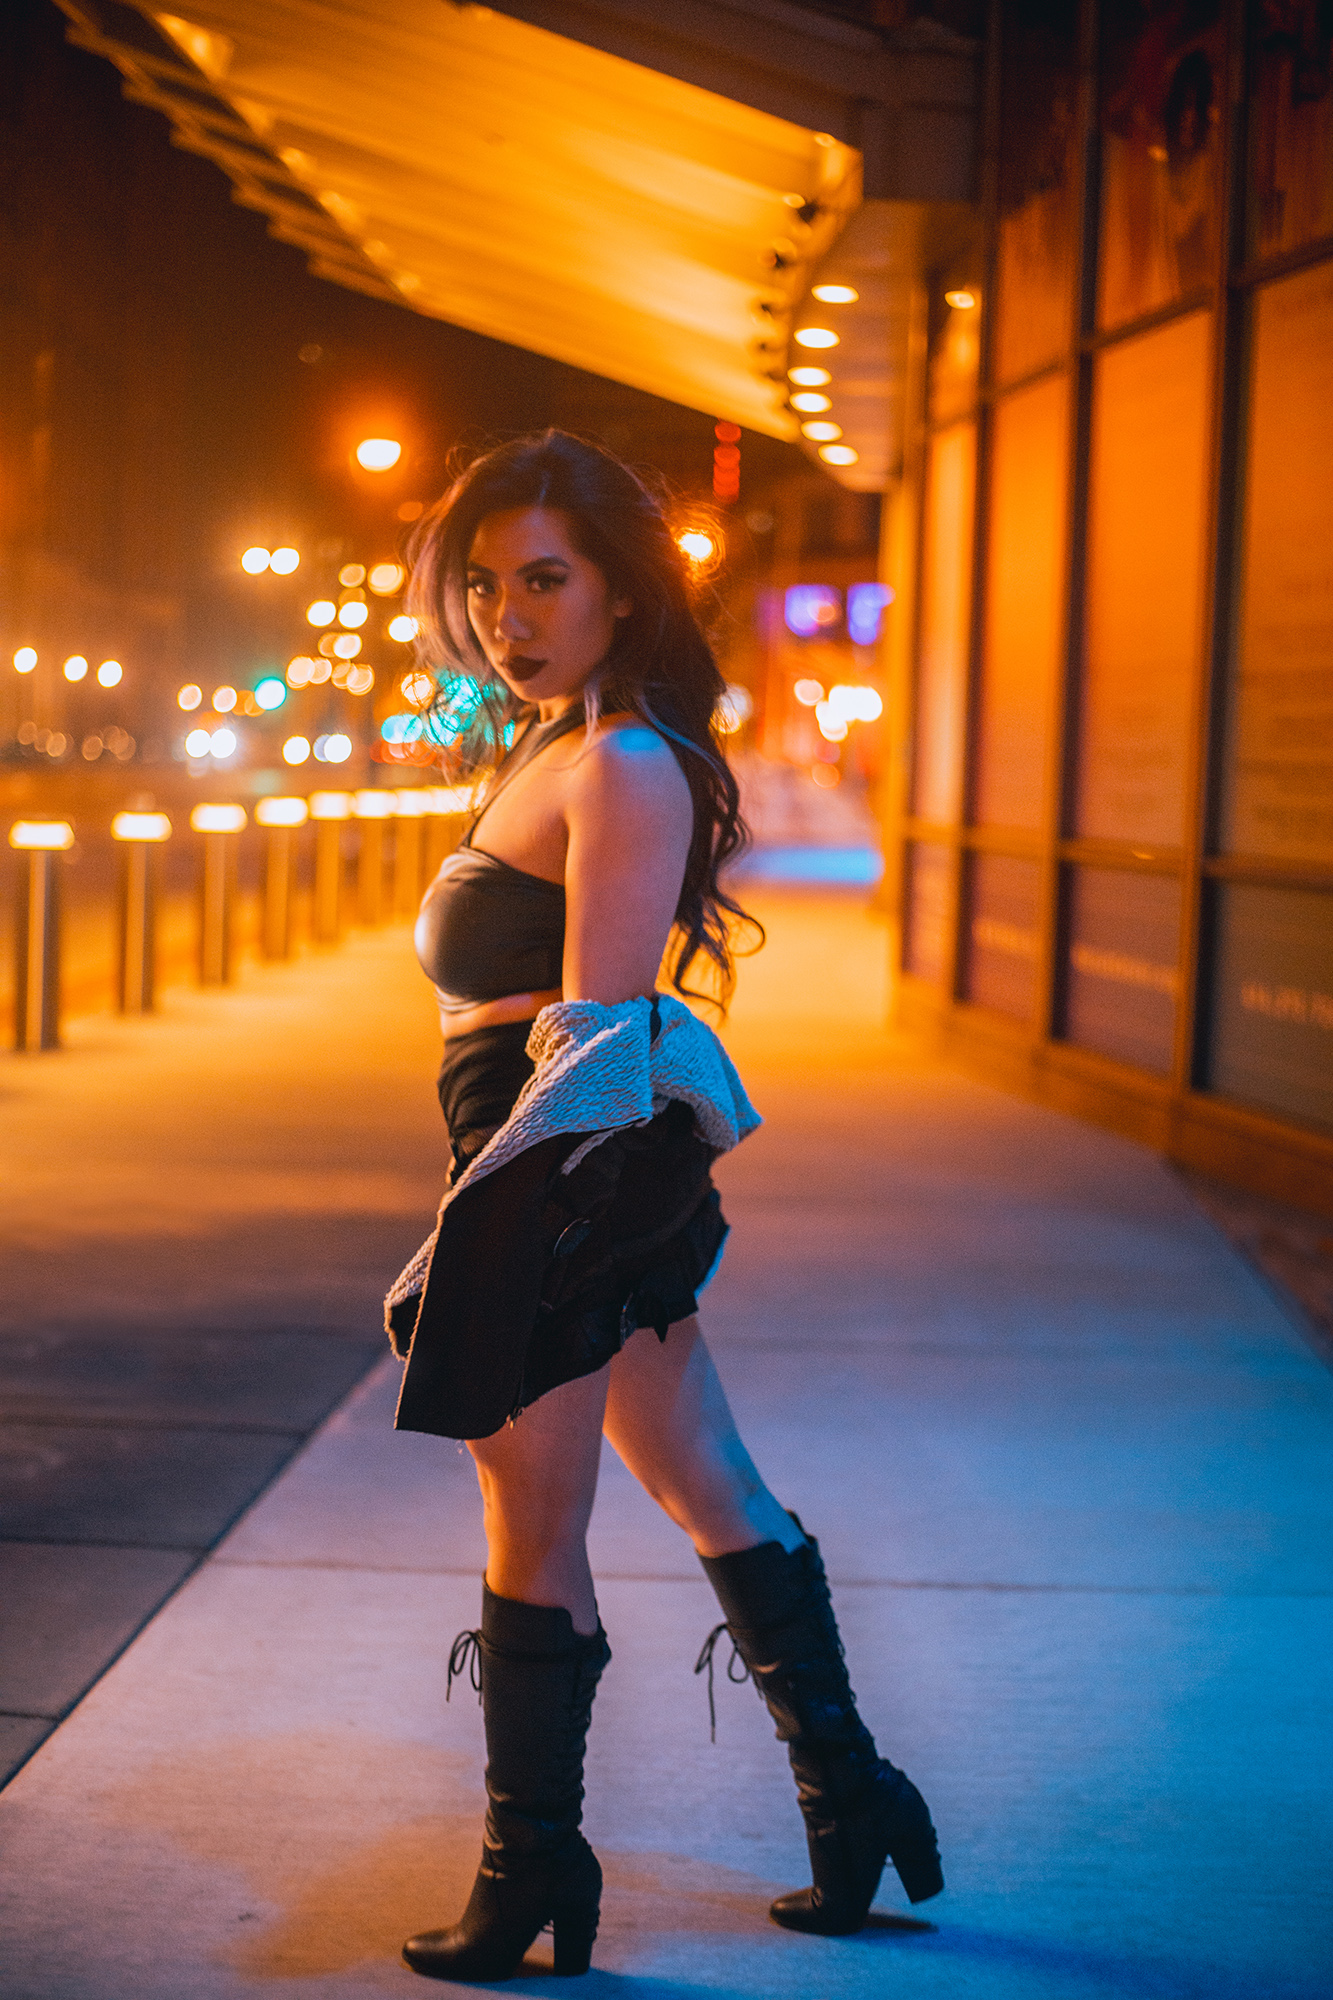
Artificial light is also one way to light your photography. Think of your flashes, strobes and continuous light sources that you bring along with you. Flashes either external or built-in flashes can help bring out color in a scene or subject.
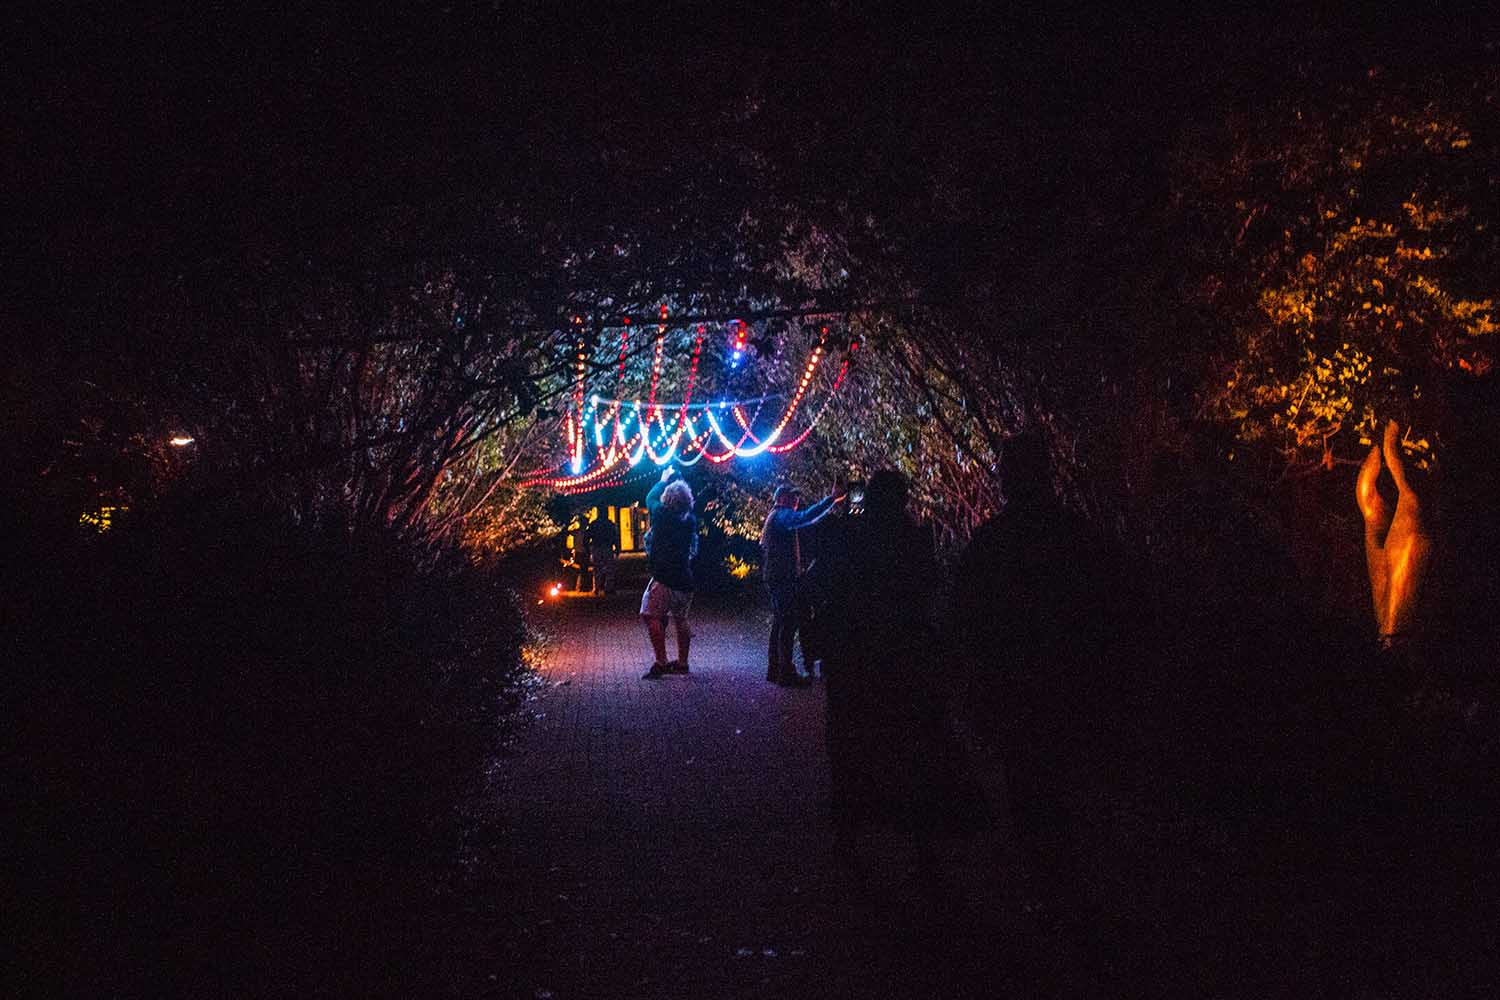
Light painting in night photography is one of the first things you should try. The idea behind it is a long exposure that captures the movement of light in multiple instances and captures it into one photograph.
You can use LED sticks or flashlights in front of your camera with a far bit of distance from the camera to create great night photography light painting. A tip to make whatever you draw easier is to point the flashlight past or above your camera the whole time. This way the camera will not get overexposed.
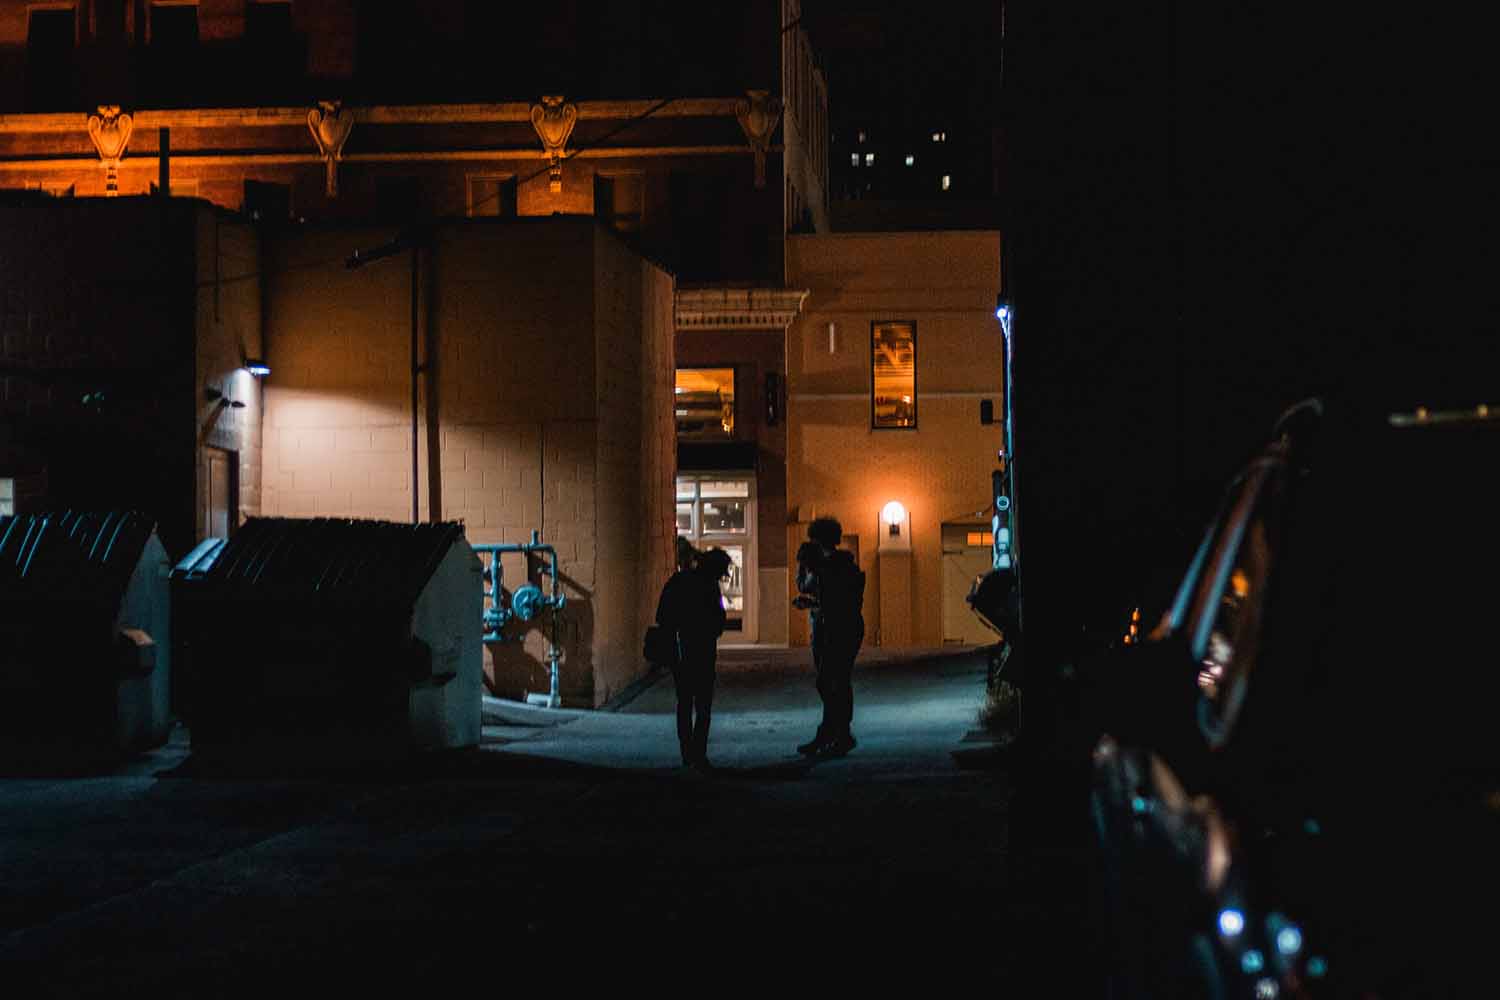
In conclusion, night photography offers a unique set of challenges and opportunities for photographers. By understanding the essential gear, such as cameras with good dynamic range and high ISO capabilities, along with the importance of tripods for stability, photographers can be well-prepared to capture stunning nighttime images.
Overall, night photography requires a combination of technical knowledge, creative experimentation, and a willingness to adapt to low light conditions. With practice and an understanding of the techniques and equipment involved, photographers can unlock the beauty and potential of capturing the world after dark.
